Updated 1 Oct 2025
Boto Mo 'To Tutorial
Simple walkthrough for admins and voters.
Introduction
Welcome to the Boto Mo To Tutorial Guide.
This document provides a clear and straightforward introduction to using the system, whether you are an administrator managing elections or a voter participating in one.
It is intended to serve as a starting point for new users, ensuring a simple and accessible learning experience.
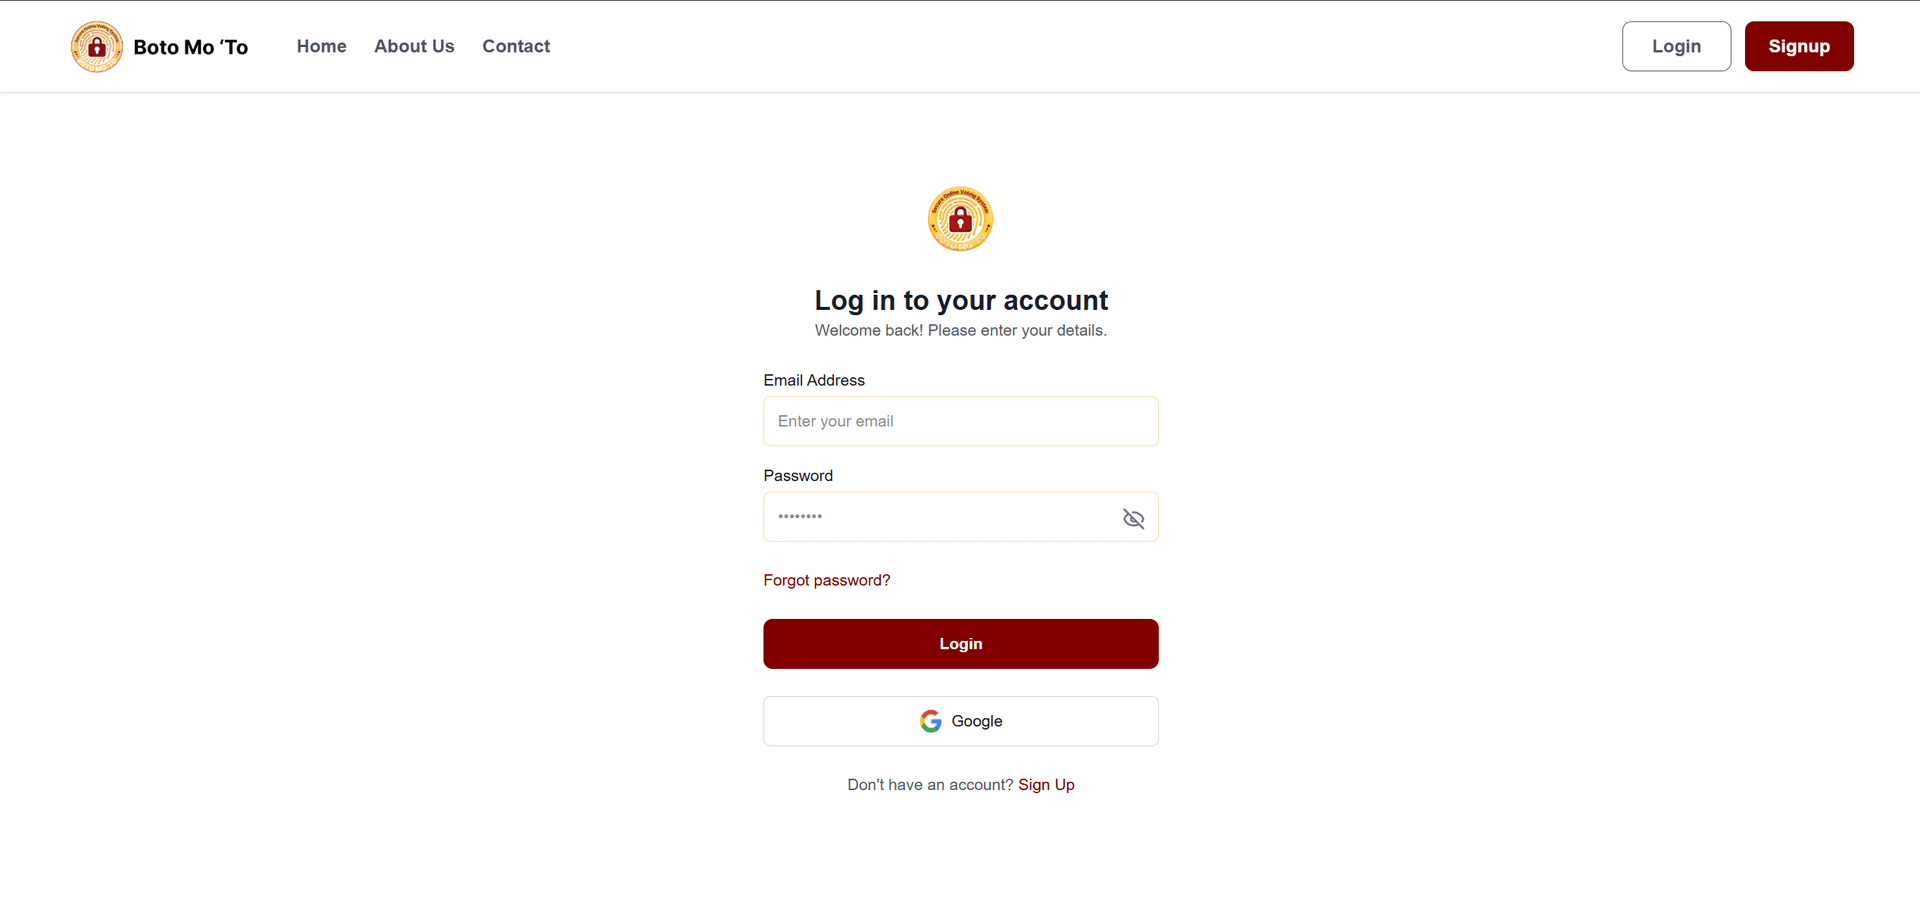
1. Login or Signup
•Returning admins can log in with their email and password.
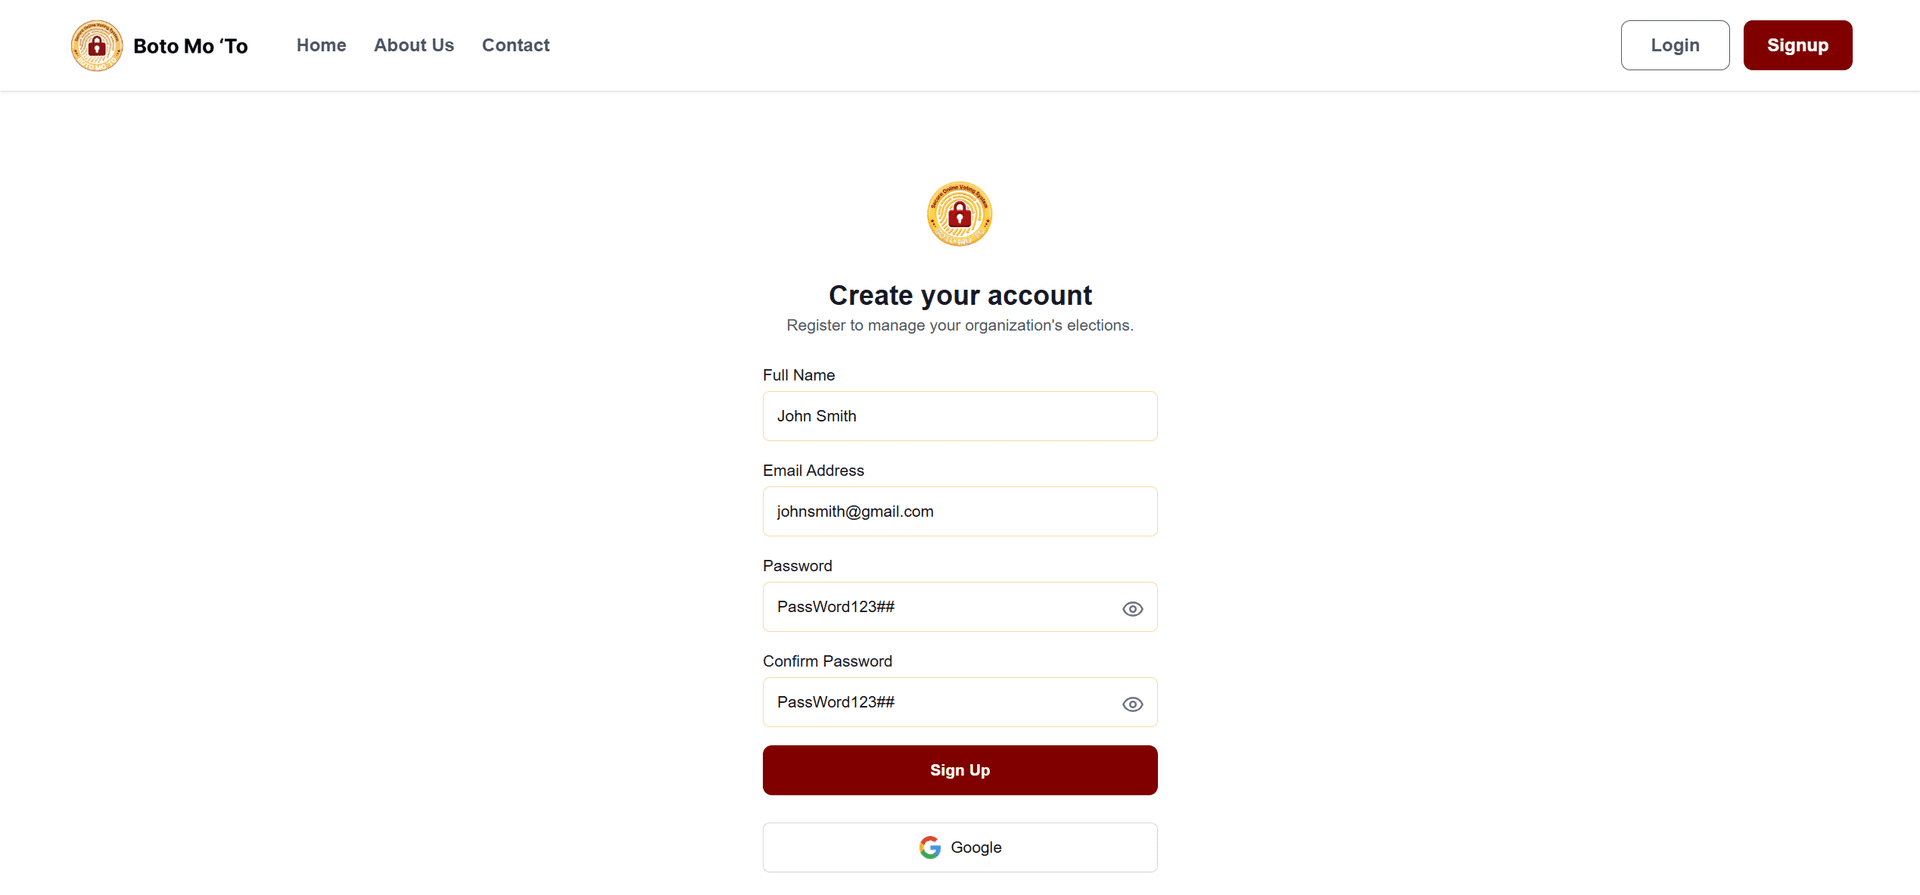
•New admins must sign up by filling in these required fields:
•Full Name
•Email Address
•Password (must have at least 8 characters, 1 uppercase, 1 lowercase, 1 number, and 1 special character)
•Confirm Password
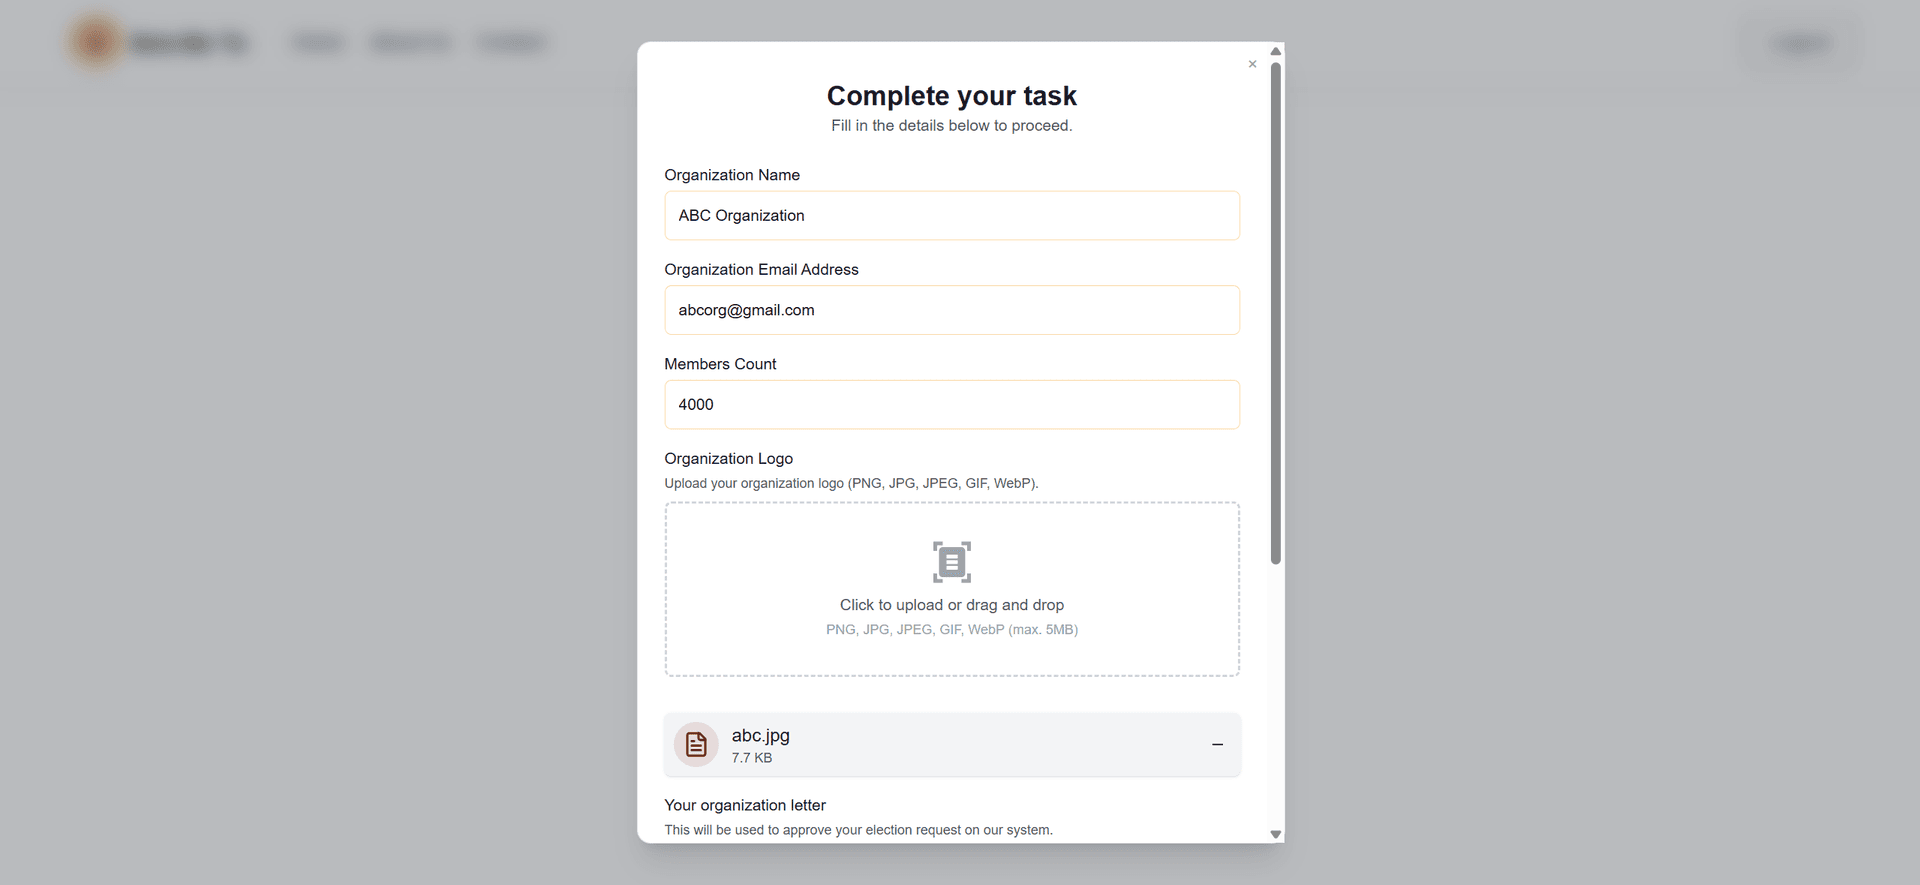
2. Organization Registration (first-time admins only)
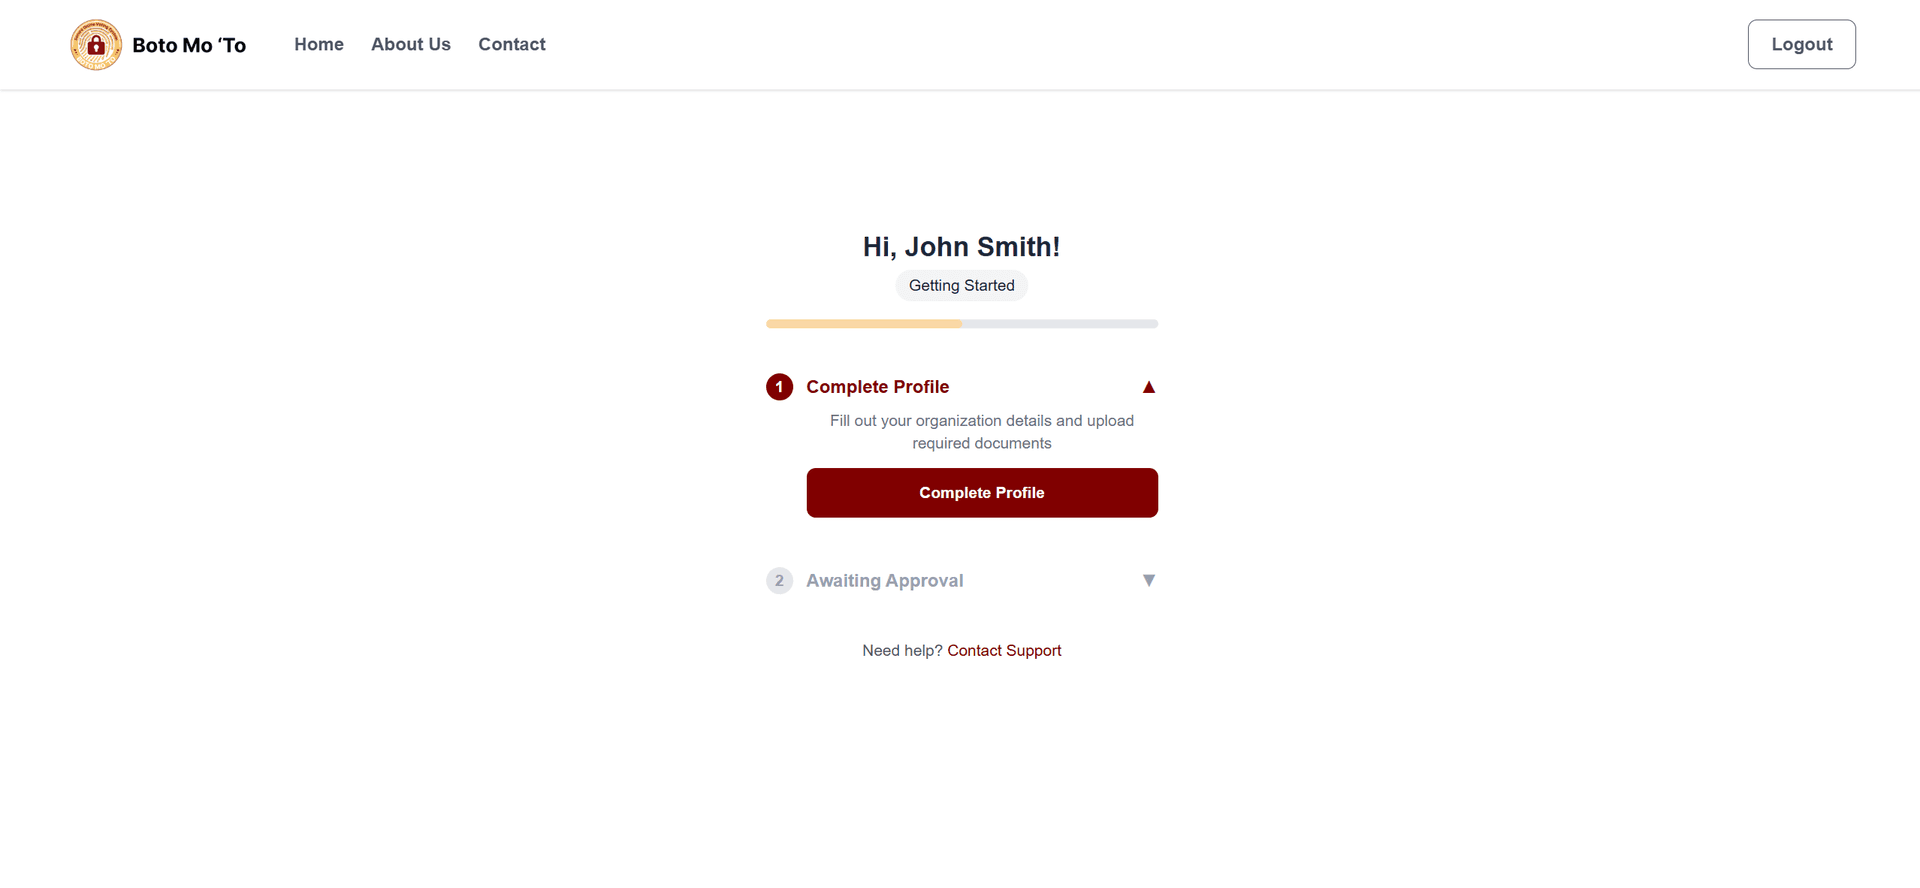
•After signing up, the system requires you to register your organization.
•Provide the following details:
•Organization Name
•Organization Email Address
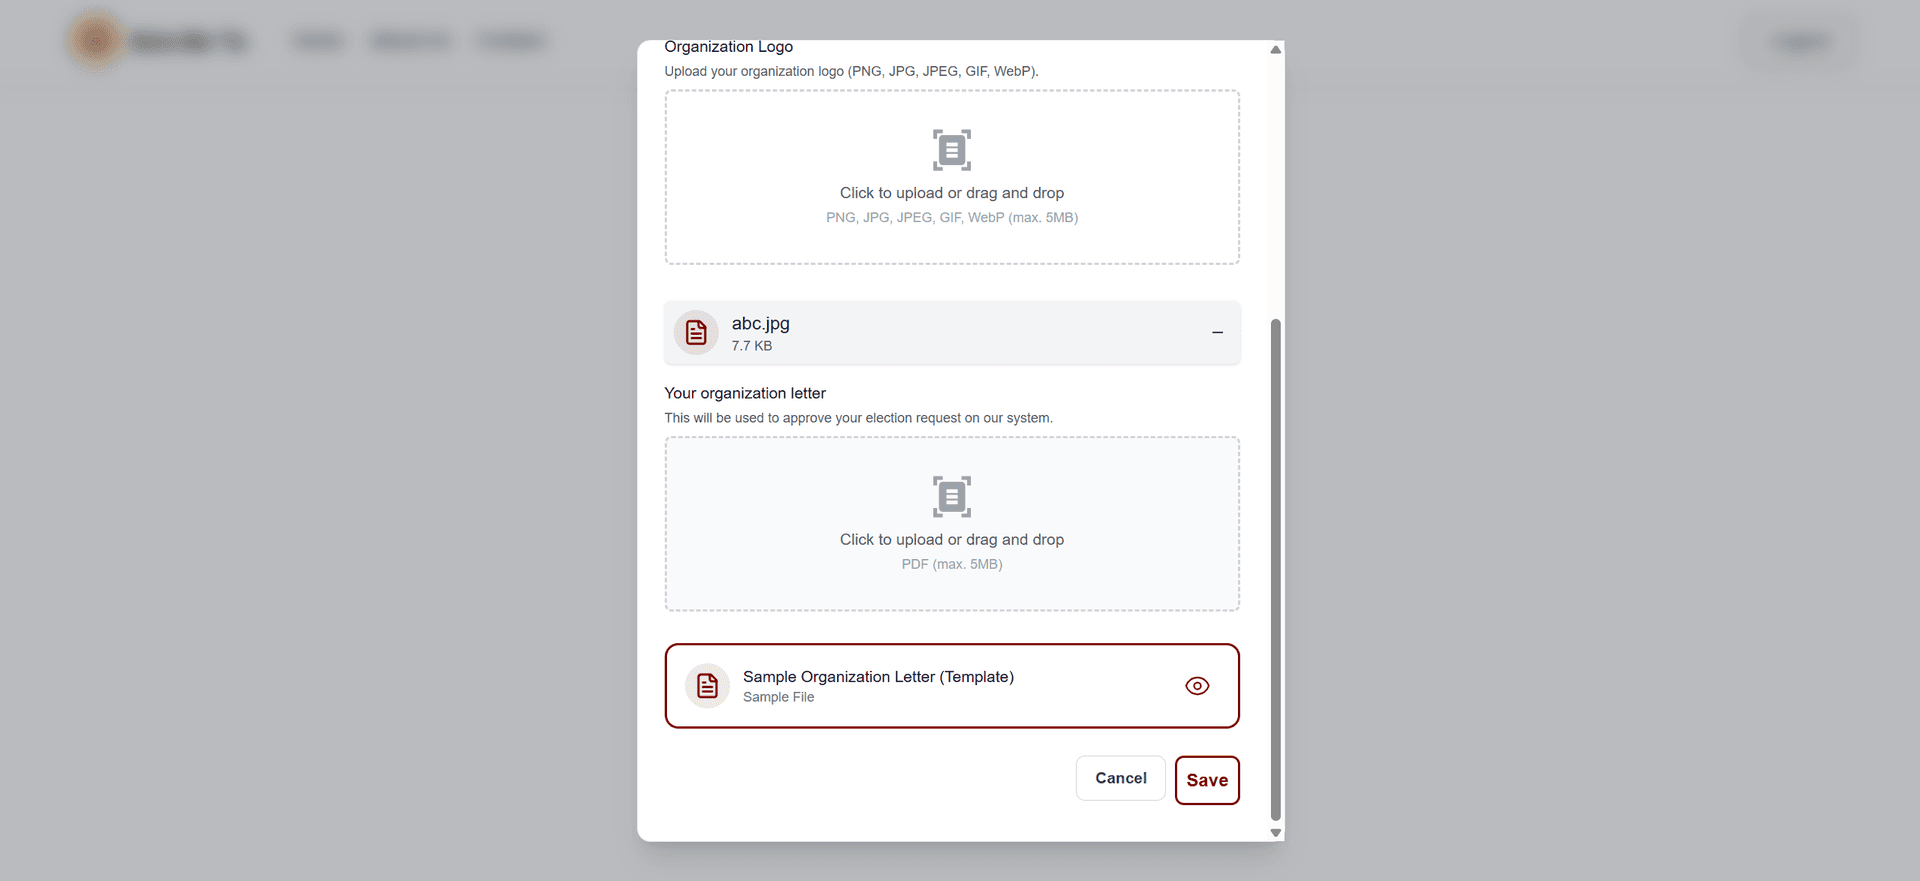
•Organization Logo (image upload)
•Letter of Intent (formal statement requesting to use Boto Mo To system)
•Click Save to submit the registration.
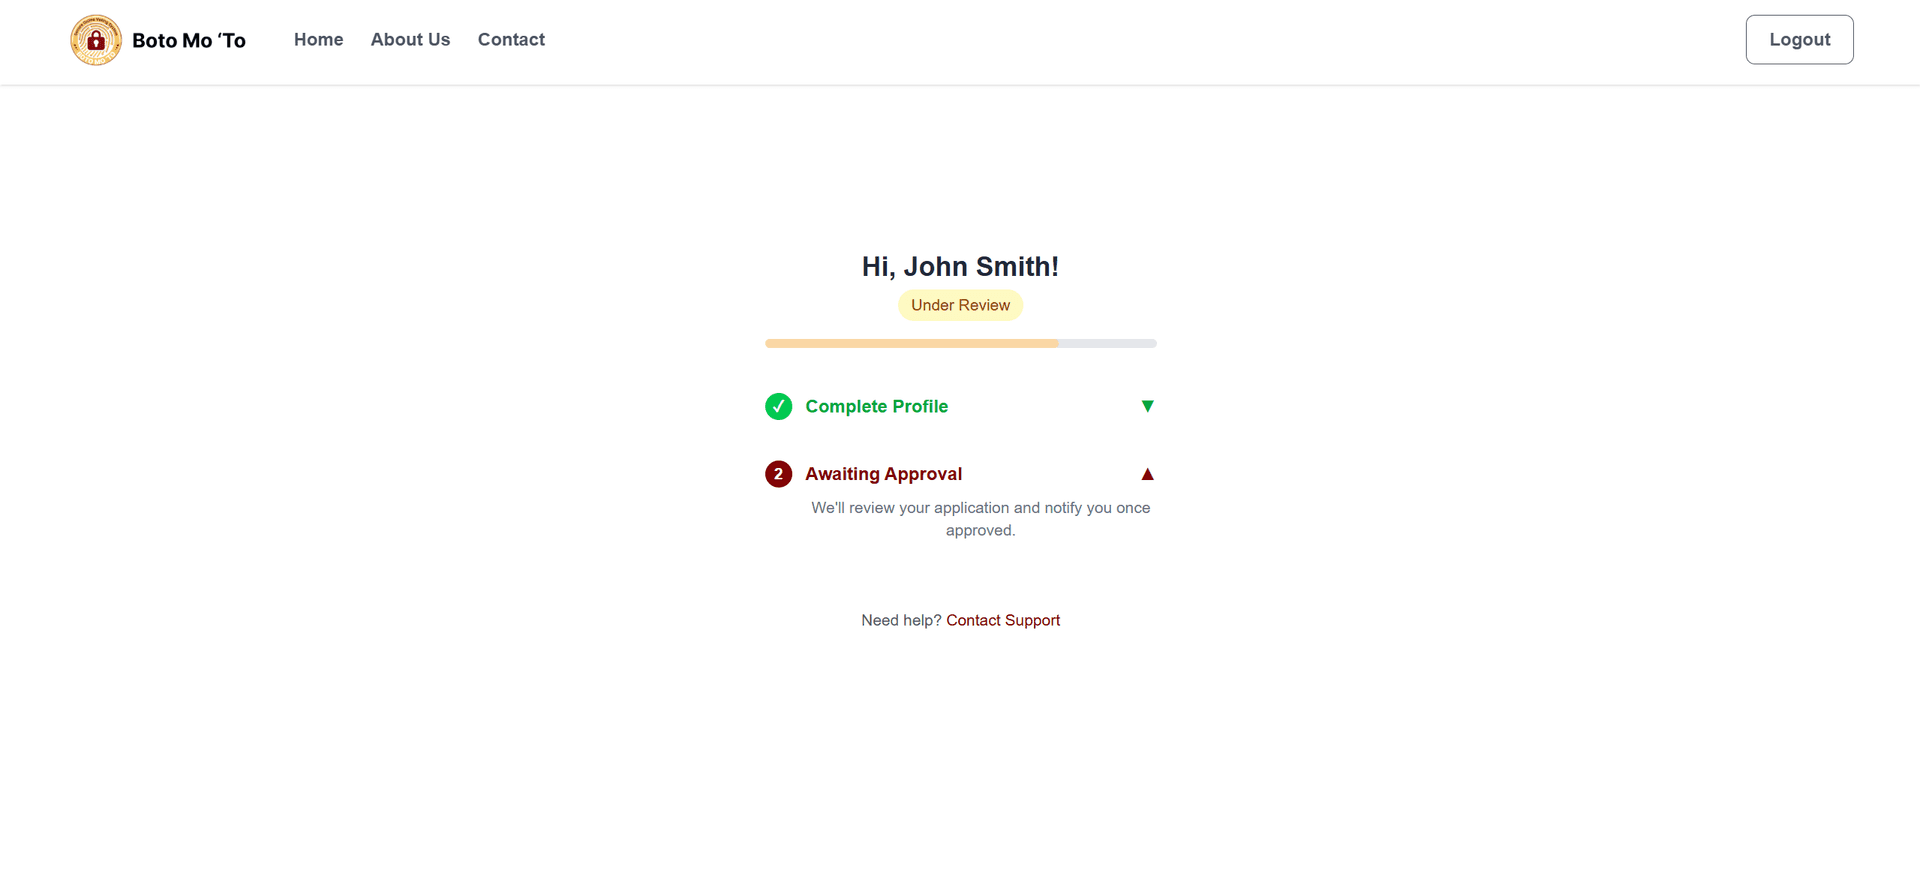
3. Approval by Superadmin
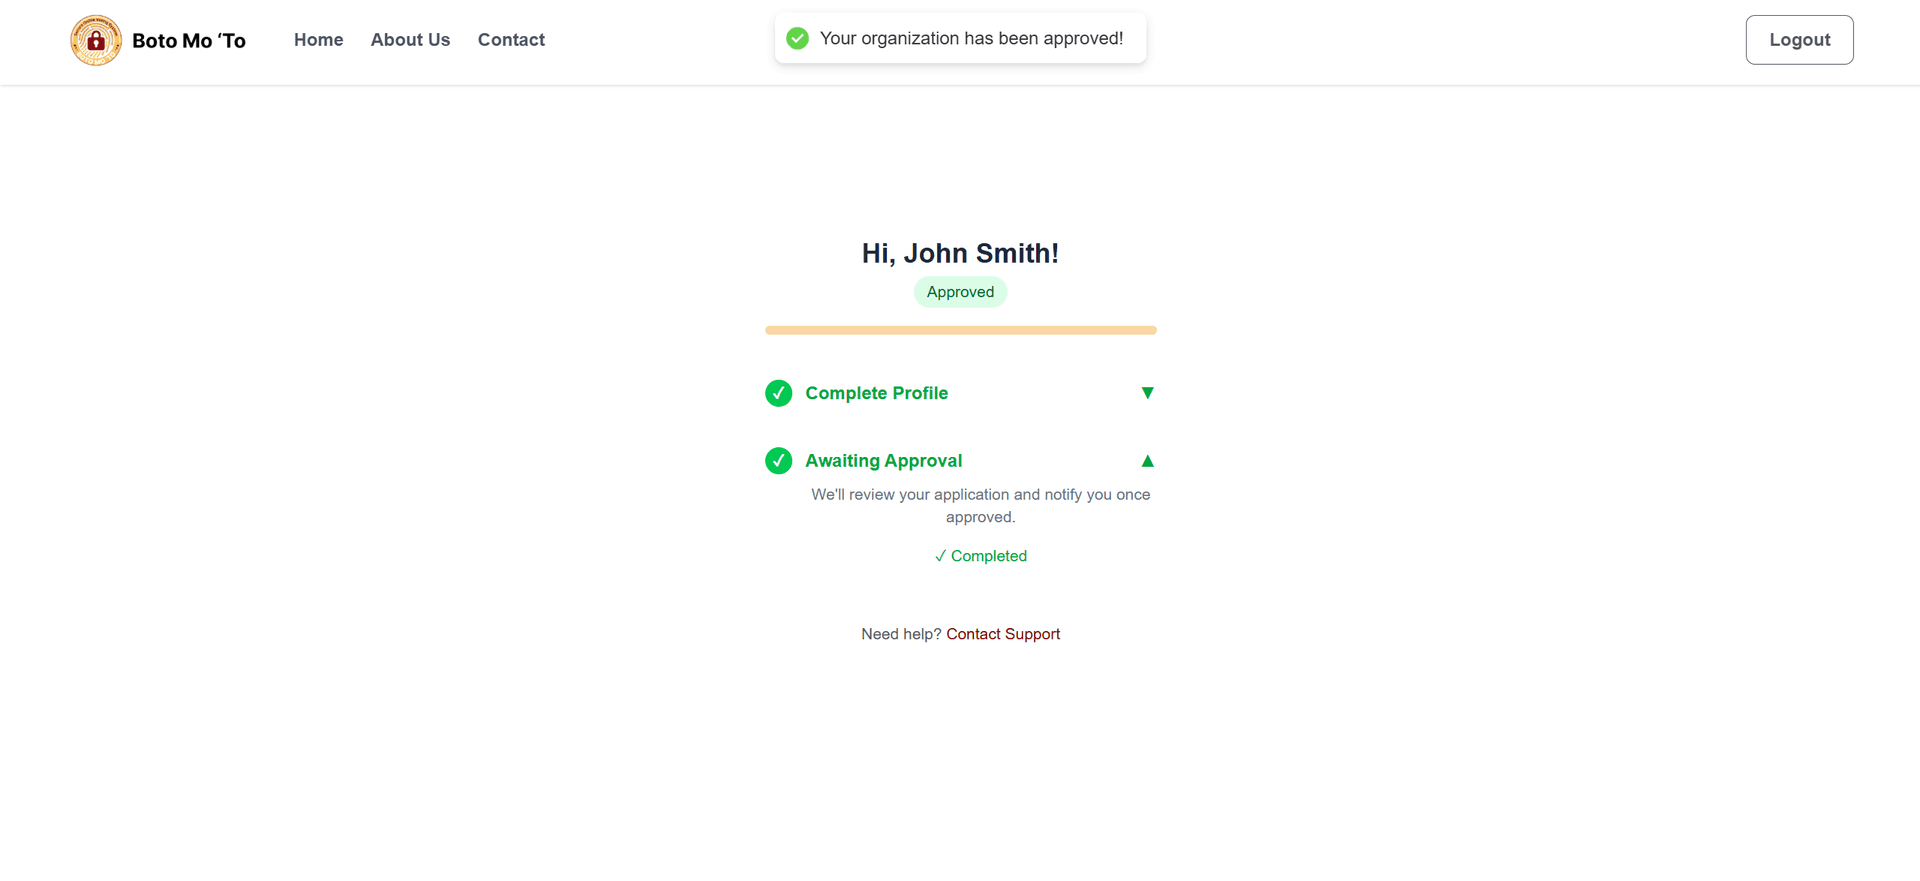
•The organization request must be reviewed and approved by a Boto Mo To Superadmin.
•You will not gain full access until approval is granted.
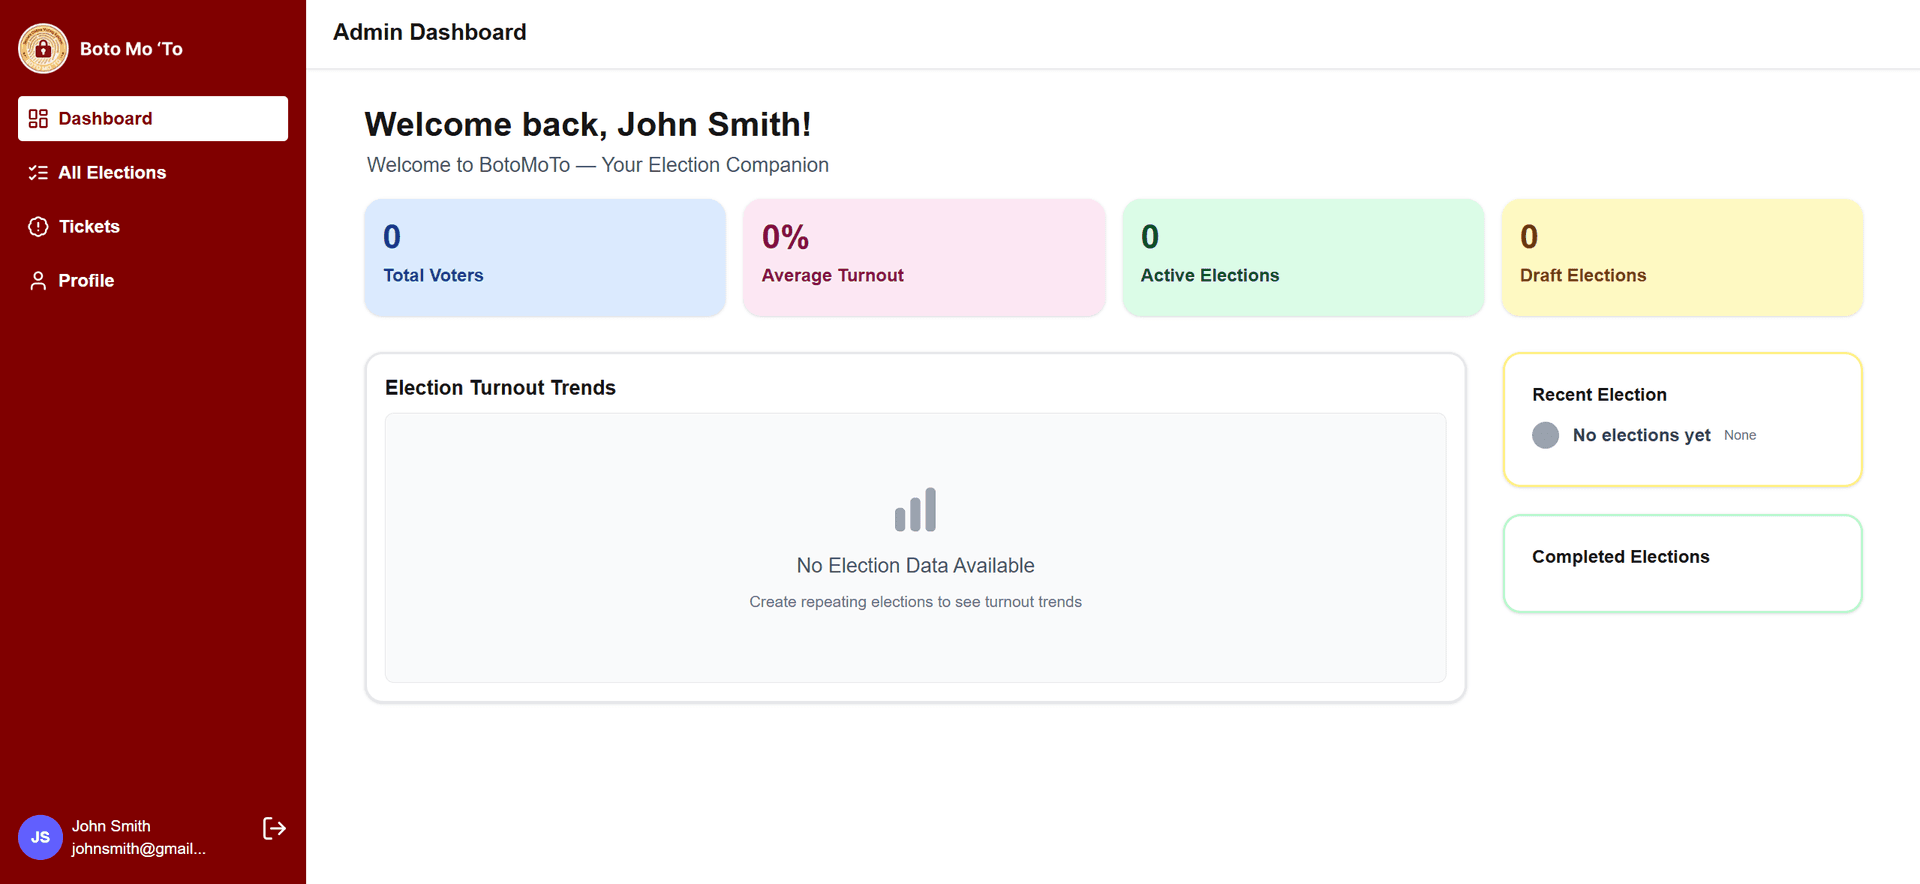
4. Admin Dashboard Access
•Once approved, you will be redirected to your Admin Dashboard.
•The dashboard has 4 main sections:
•Dashboard – Overview and summary of your account
•All Elections – Manage all elections under this organization
•Tickets – Submit issues, complaints, or suggestions to Superadmin
•Profile – Manage admin account settings
•Click Save to submit the registration.
5. All Elections Section
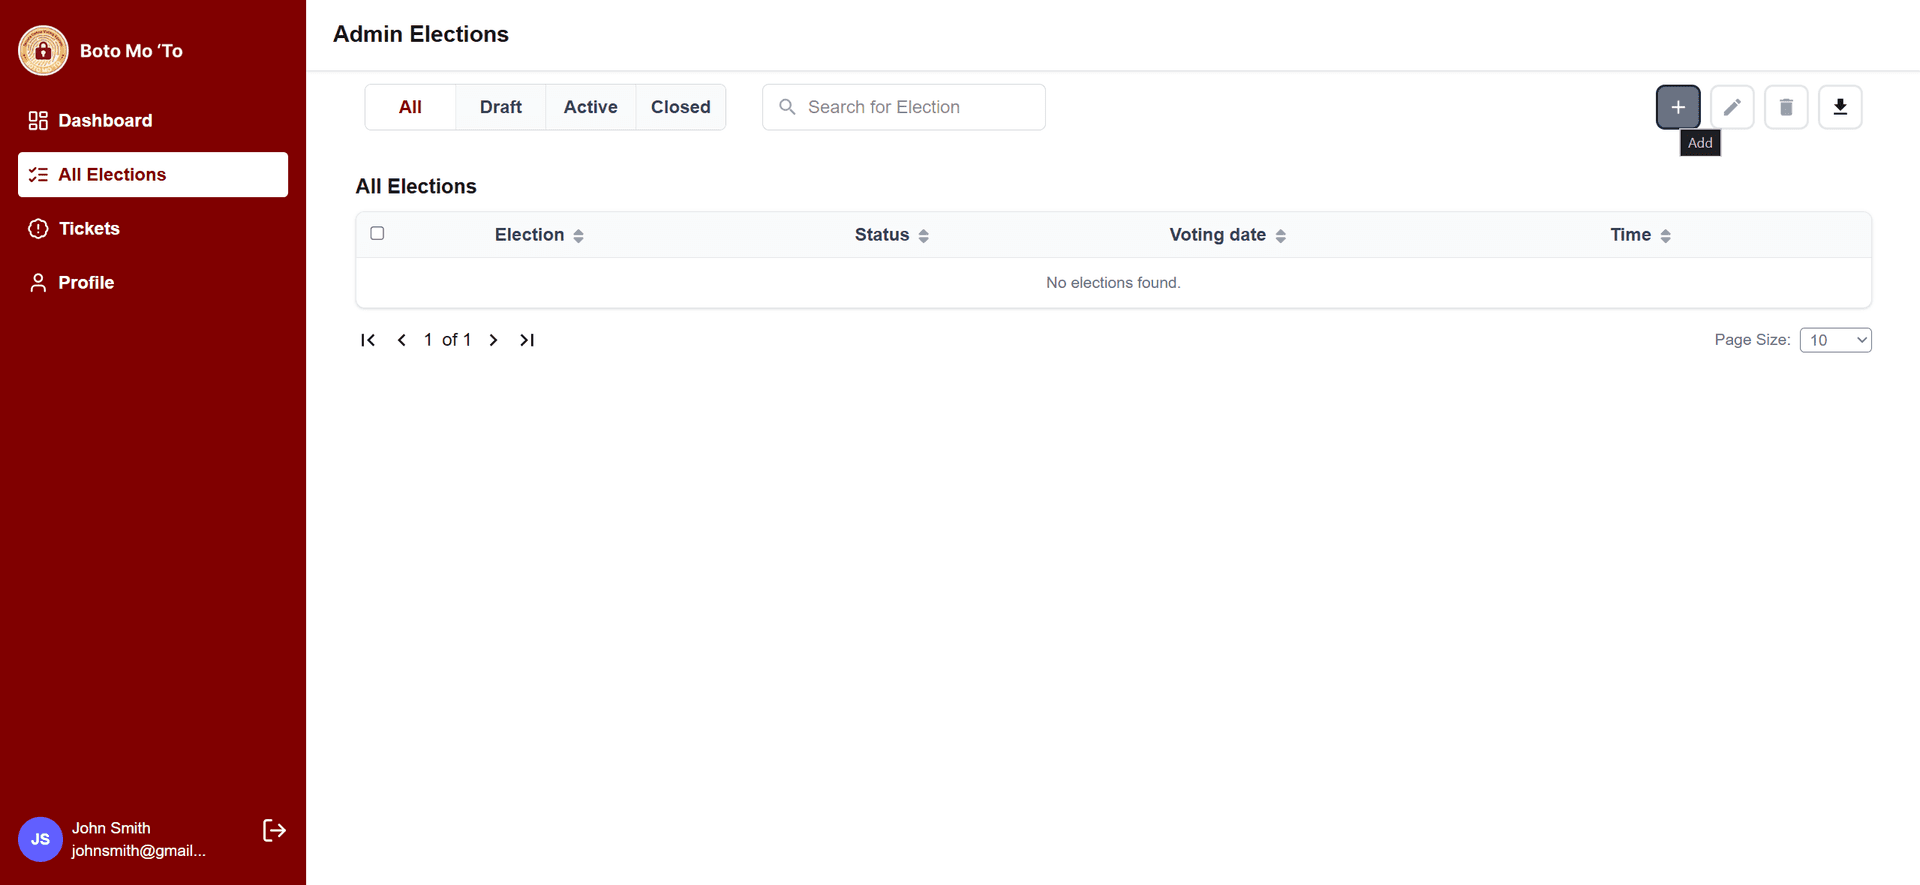
•View a list of elections handled by your account.
•You can add, edit, and delete elections.
6. Creating a New Election
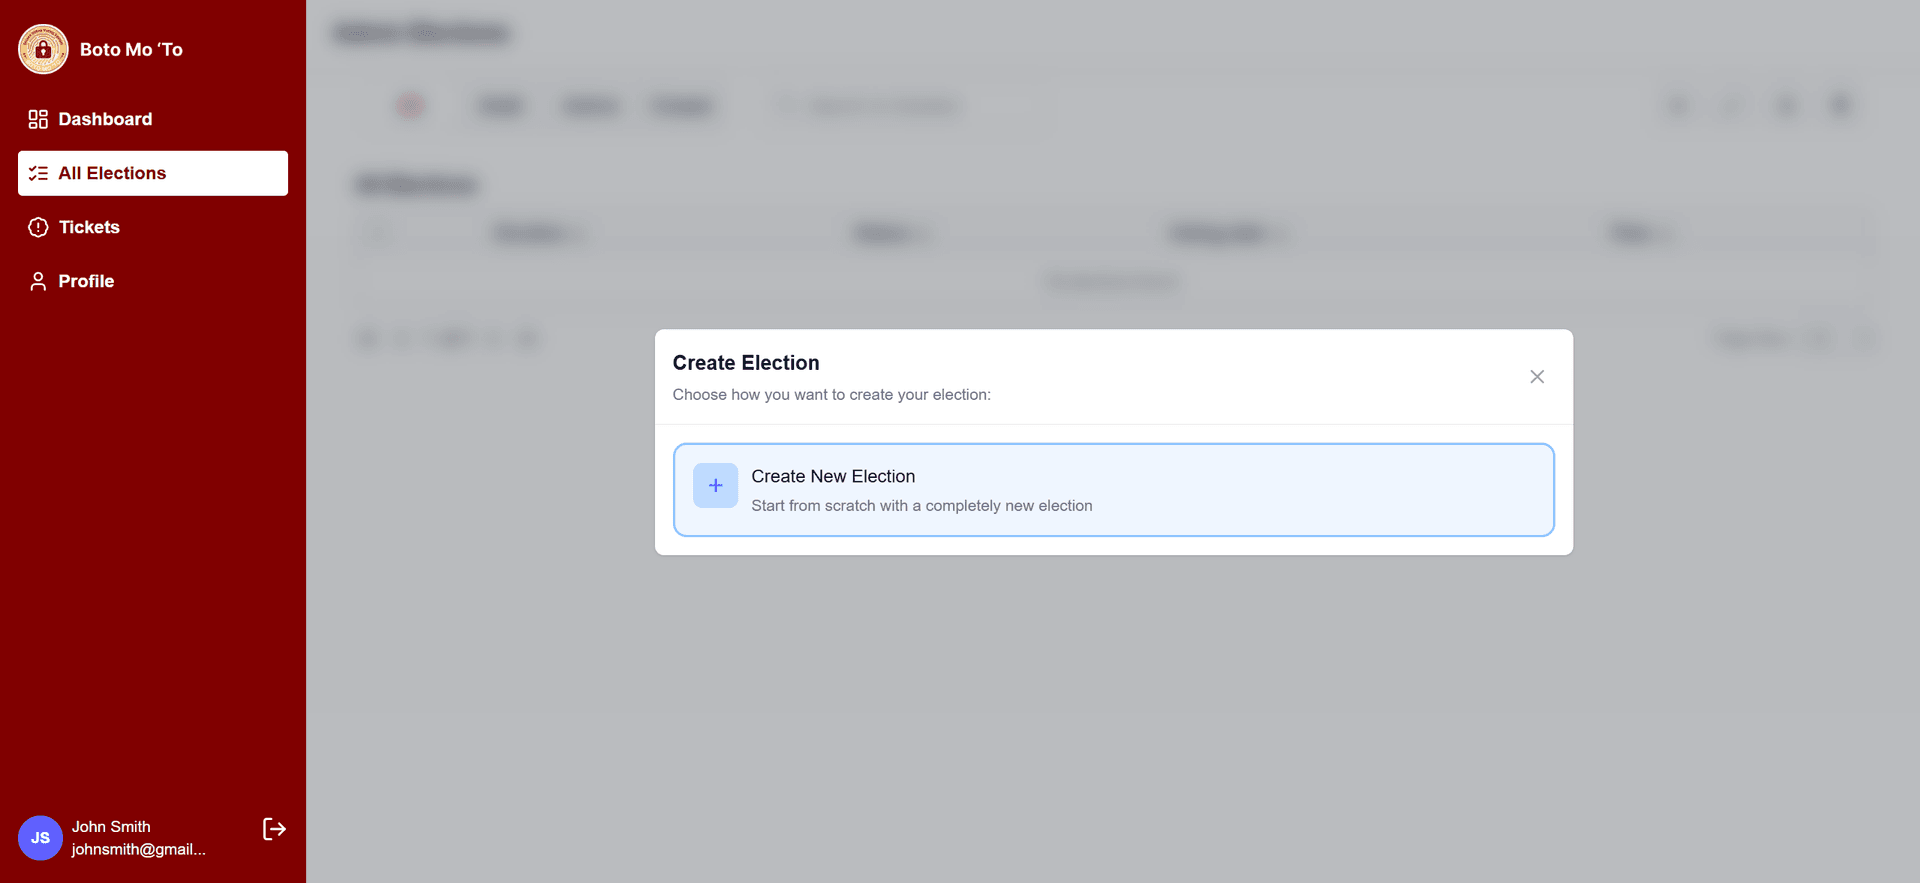
•Click the Plus (+) button, then select Create New Election.
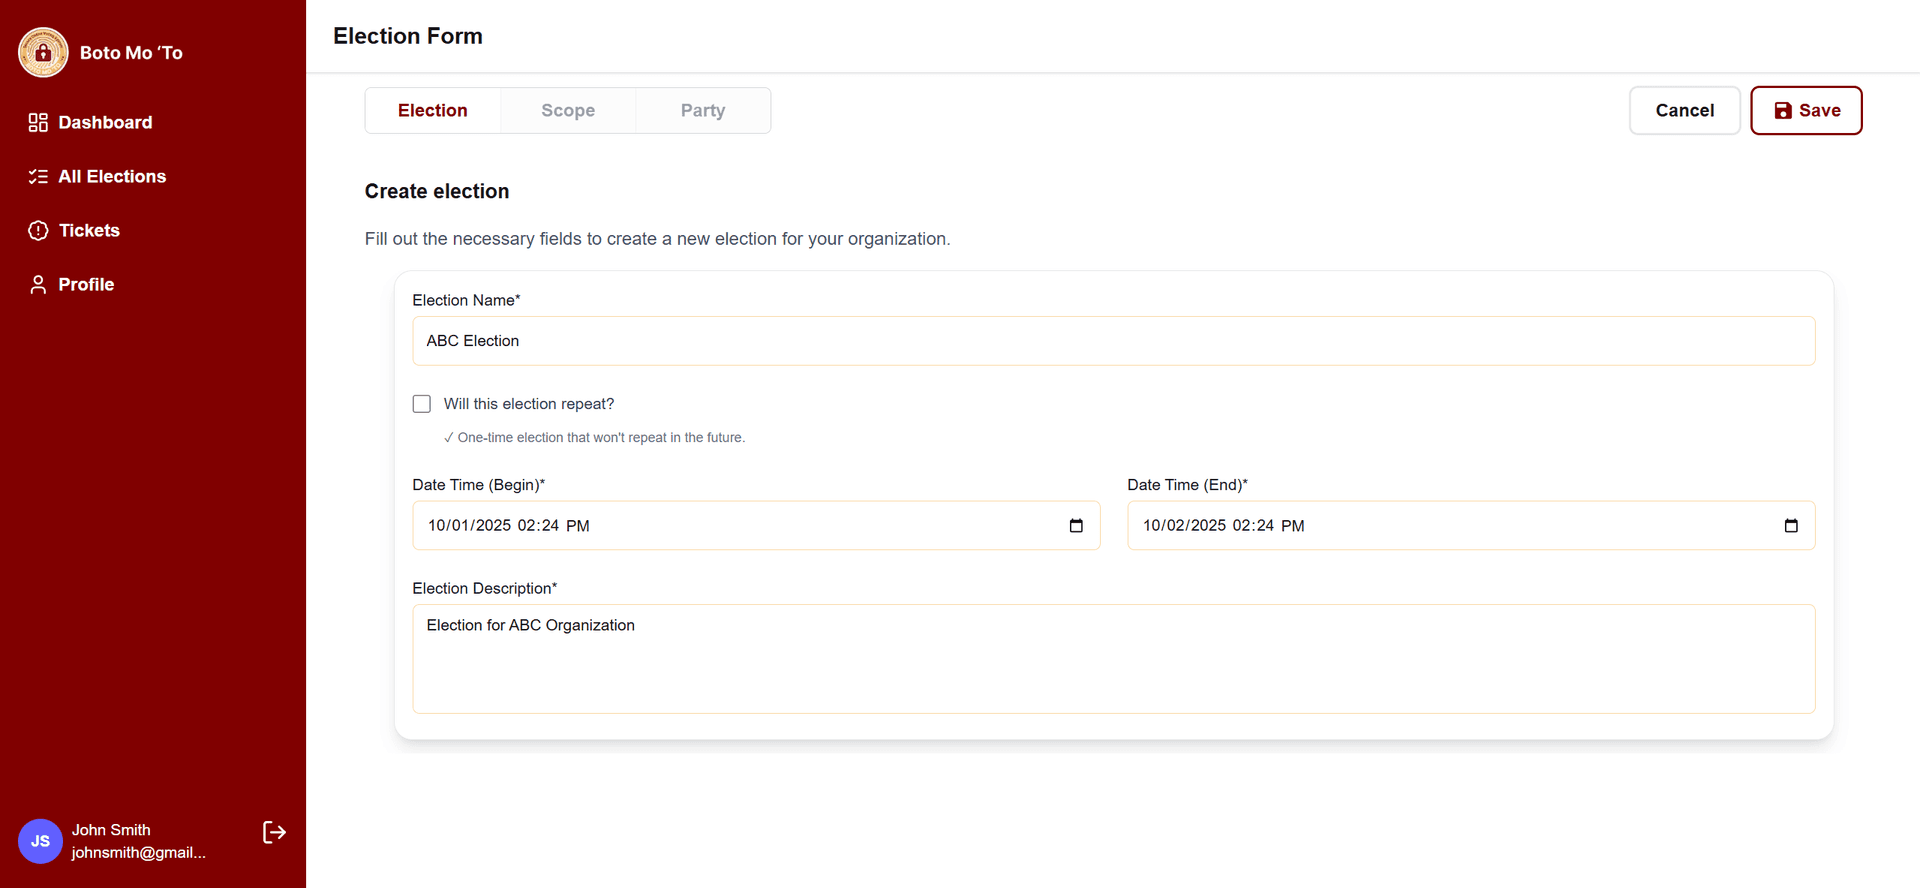
•Fill in the required election details:
•Election Name
•Start Date & End Date
•Election Description
•Will this be a repeating election? (Optional)
•Save the election.
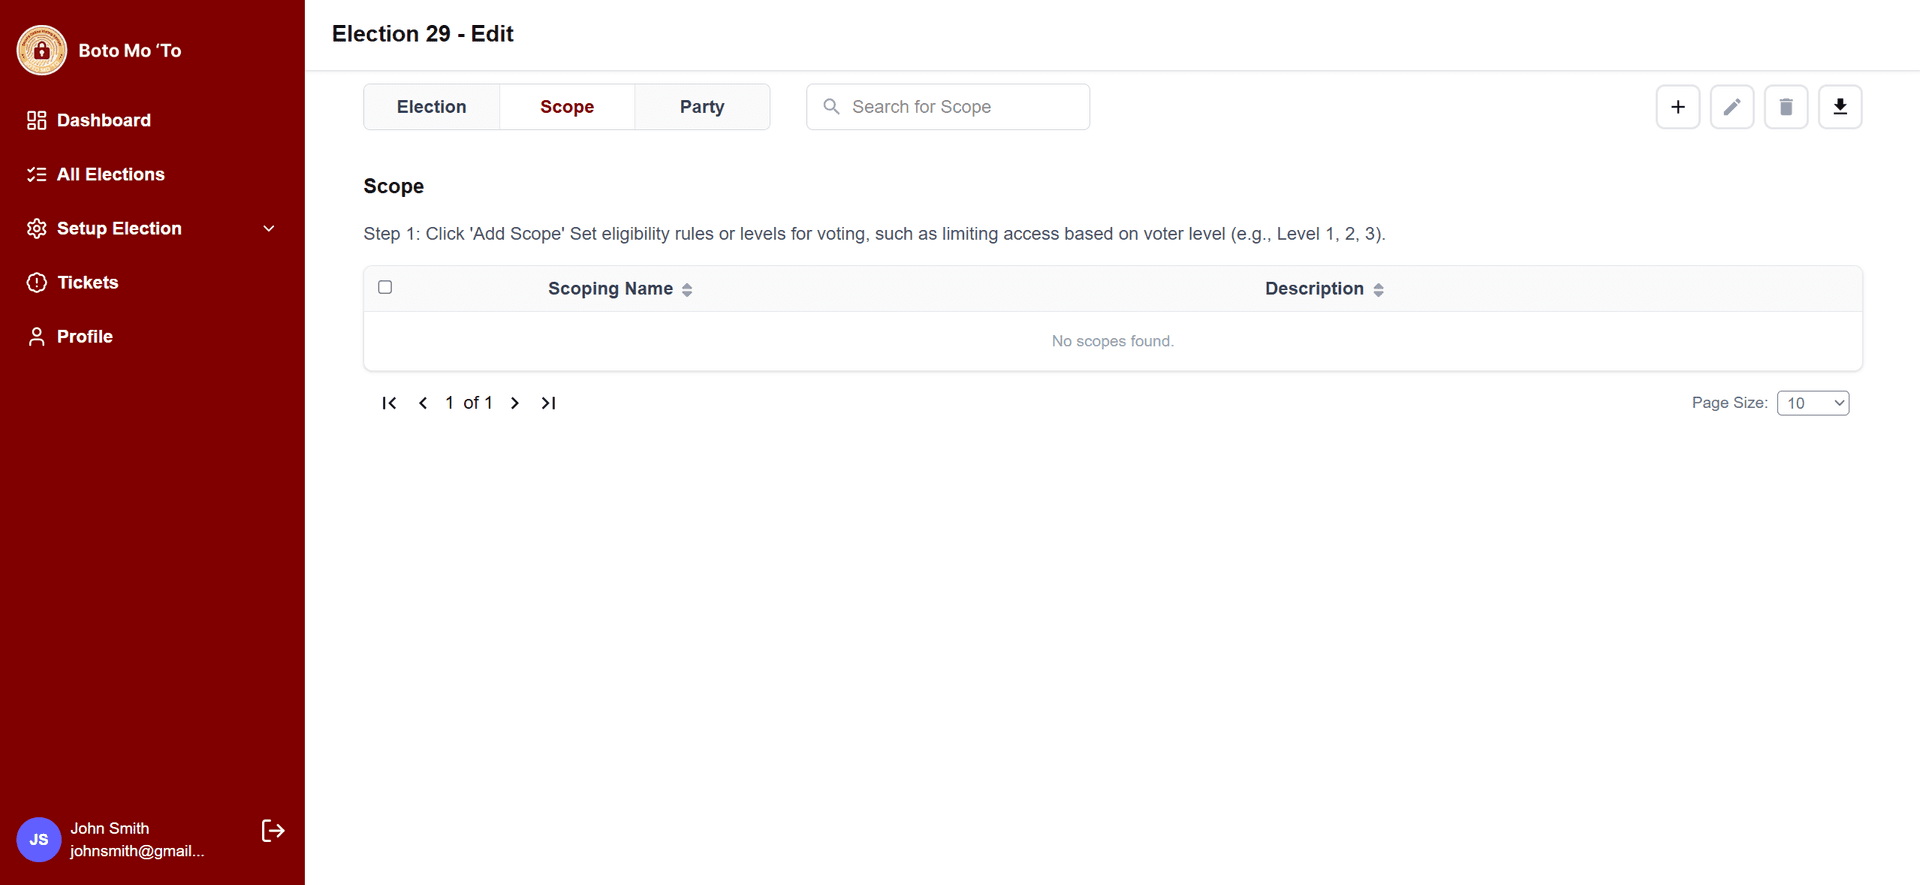
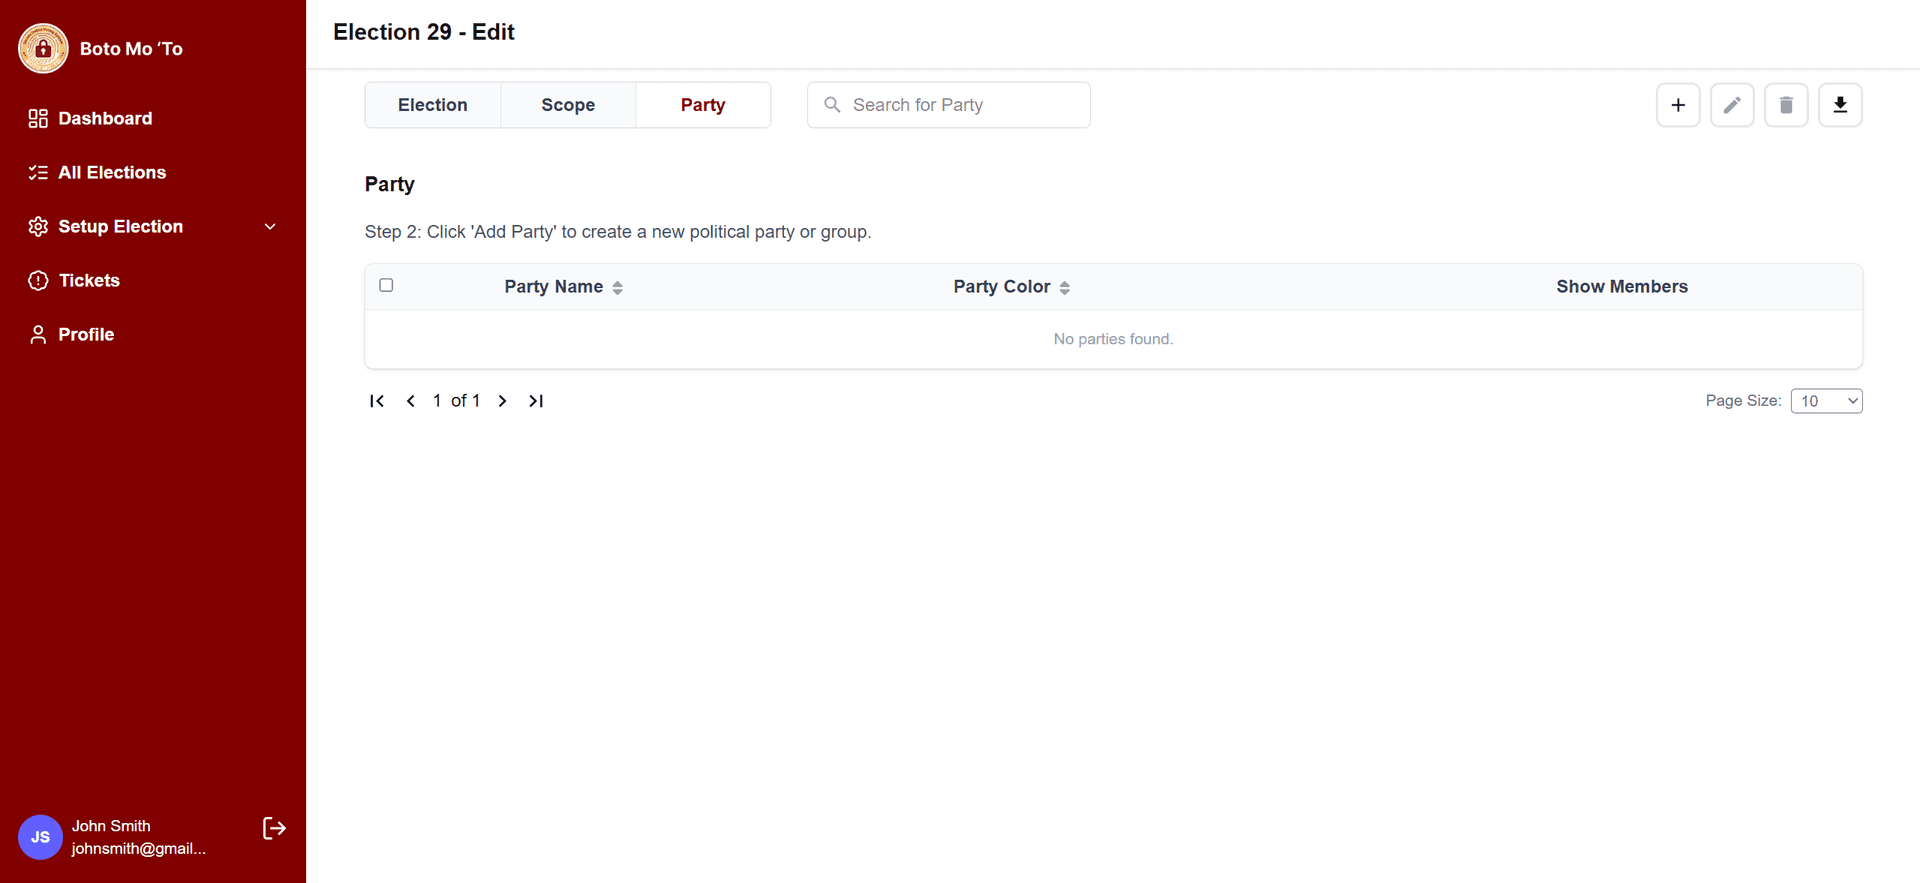
7. Optional: Add Voting Scopes & Parties
•Voting Scopes: Restrict voters to only see/vote for candidates within their scope (e.g., Level 1 voters → Level 1 candidates)
•Parties: Register political parties for candidates.
•These are optional; in this tutorial, we skip them for simplicity.
8. Election Setup Sidebar
•Selecting a specific election reveals a Setup Election dropdown with the following tabs:
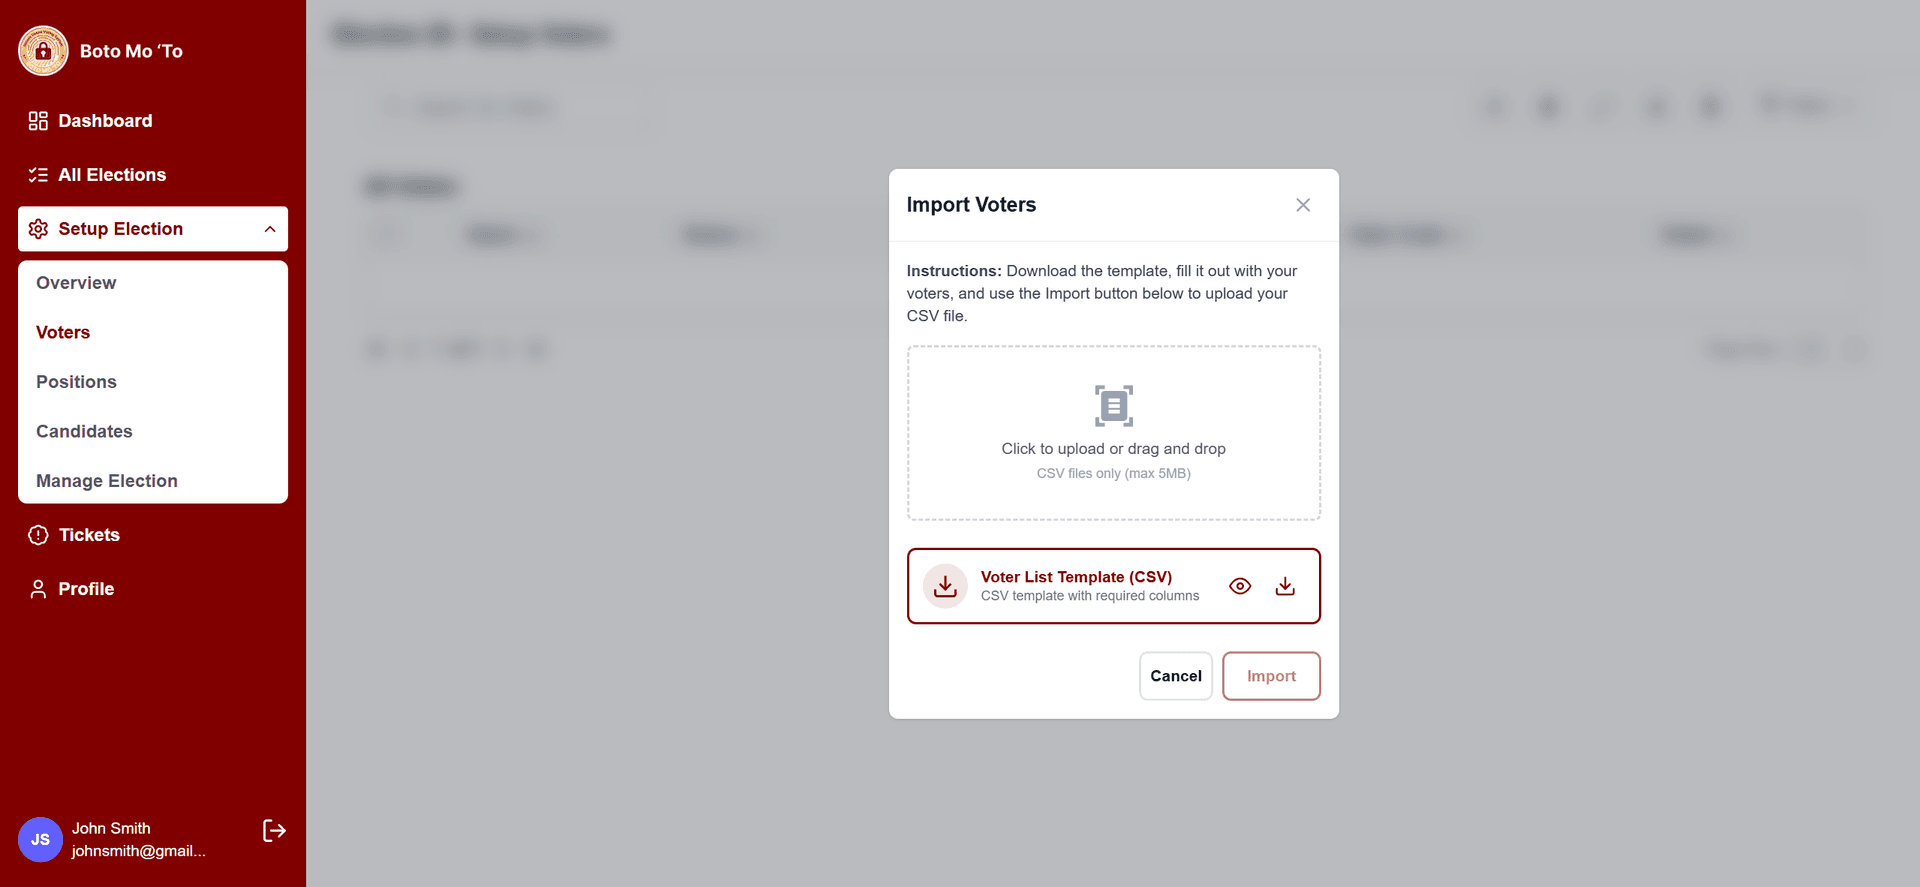
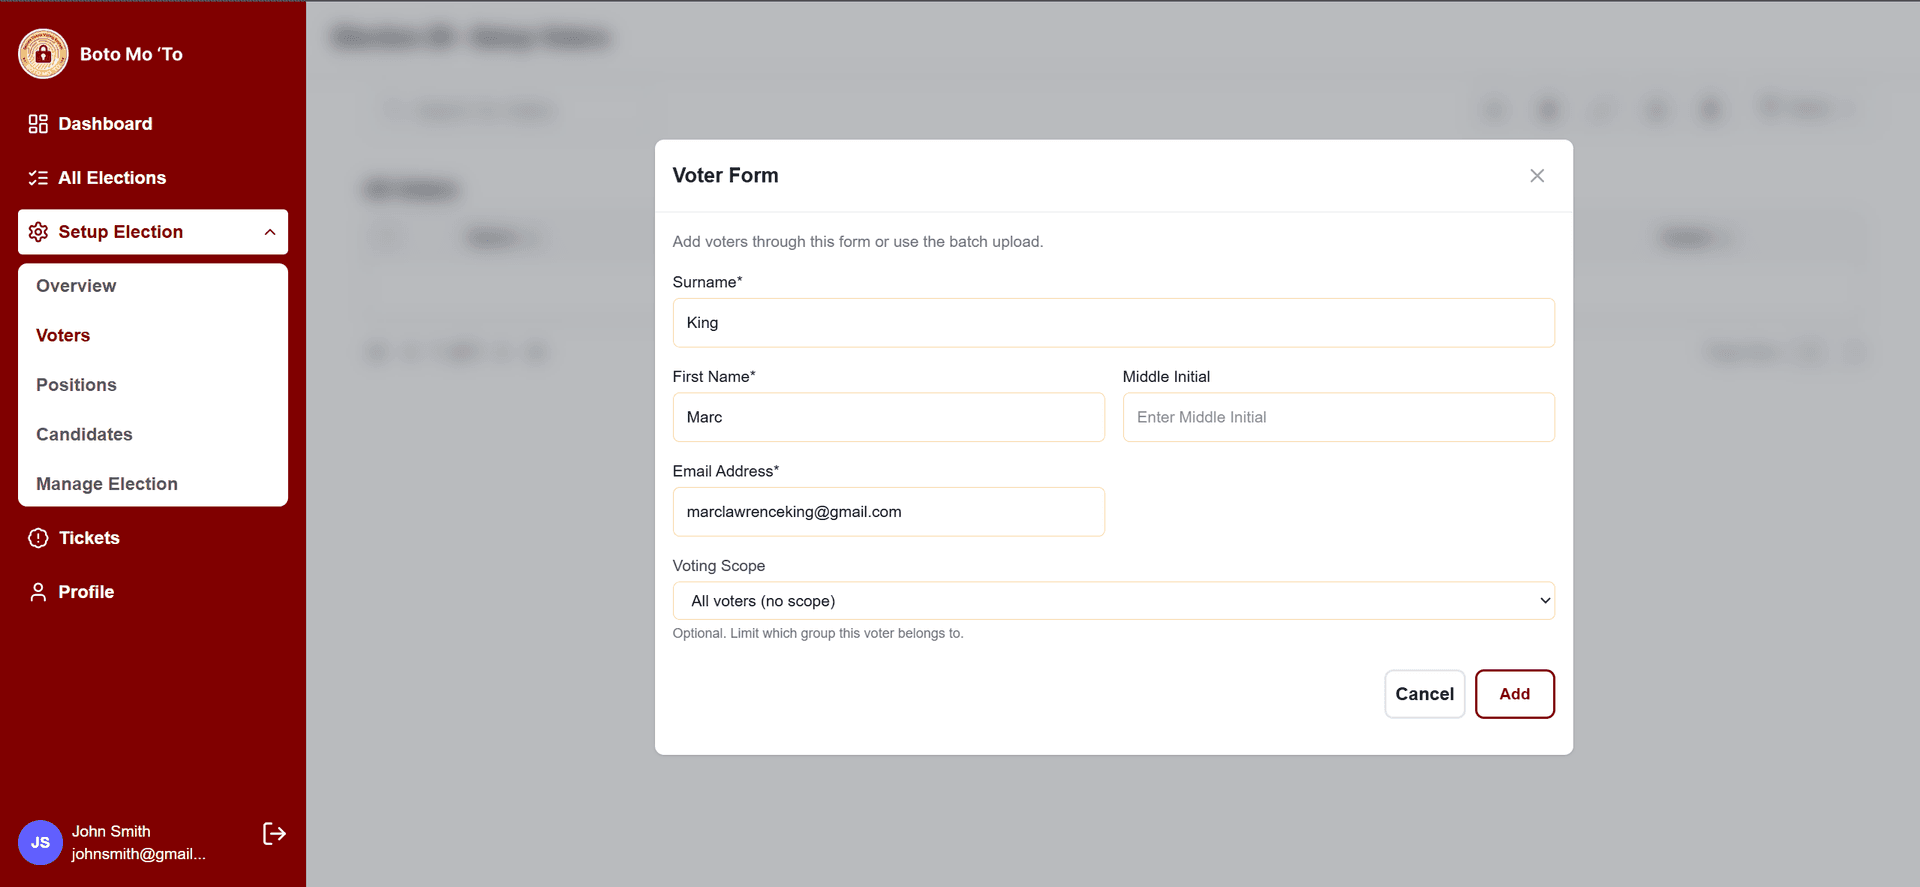
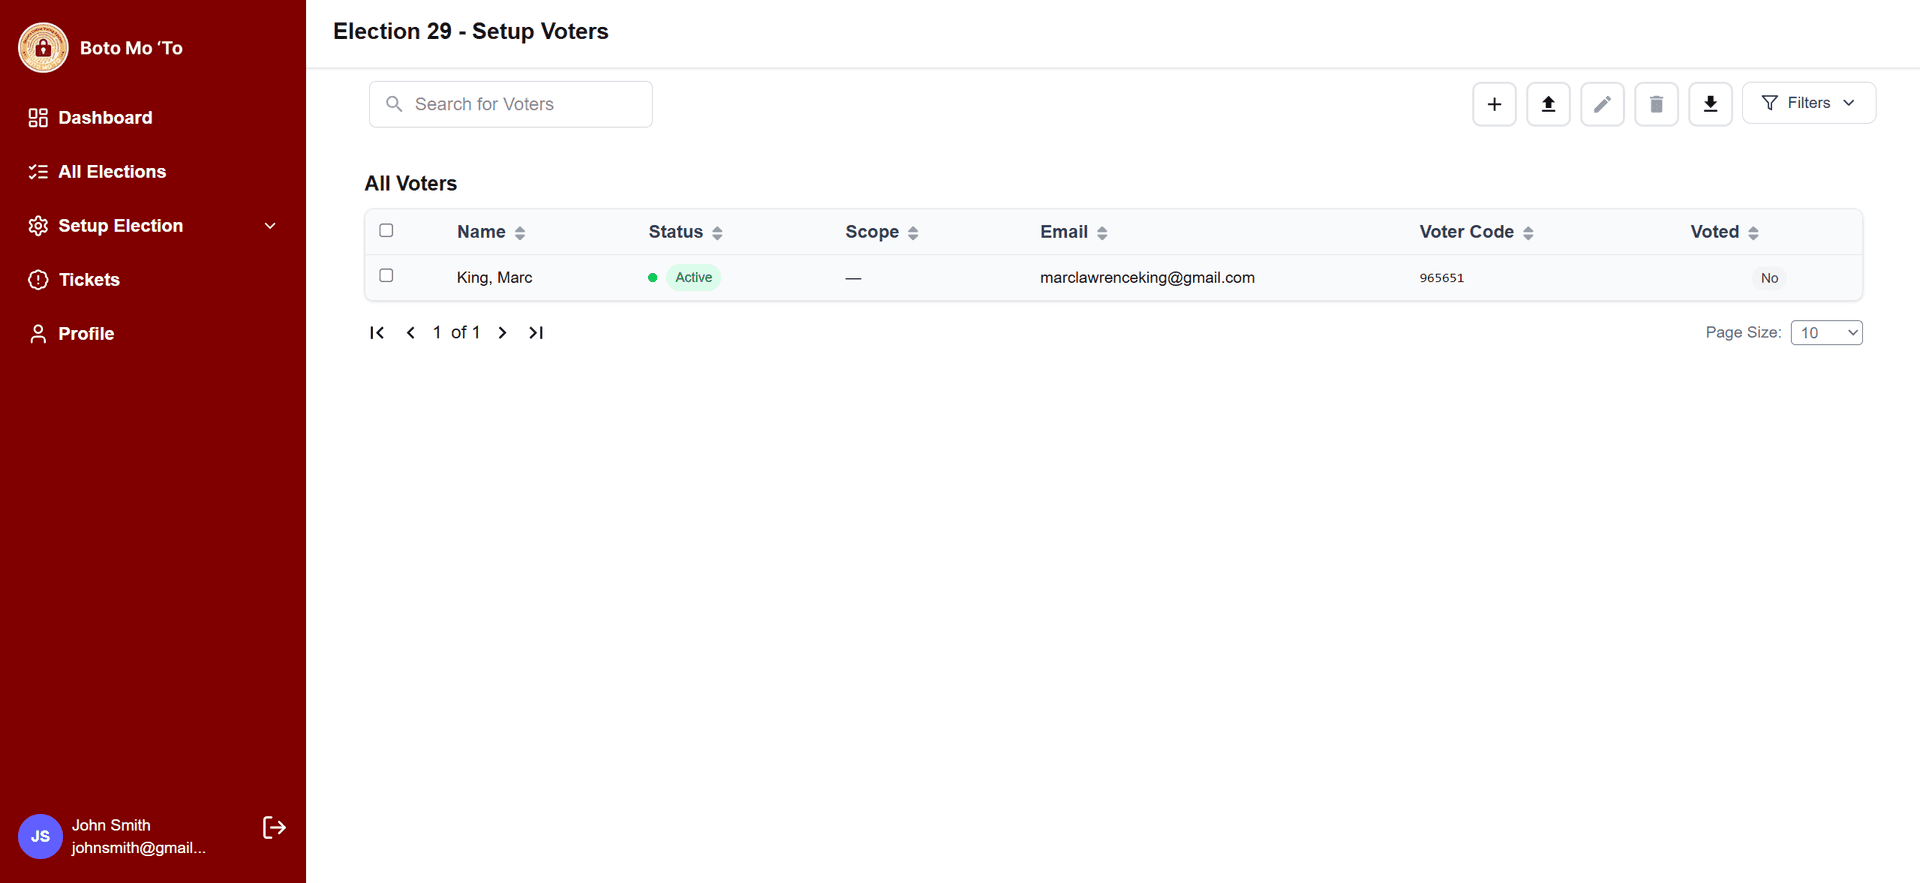
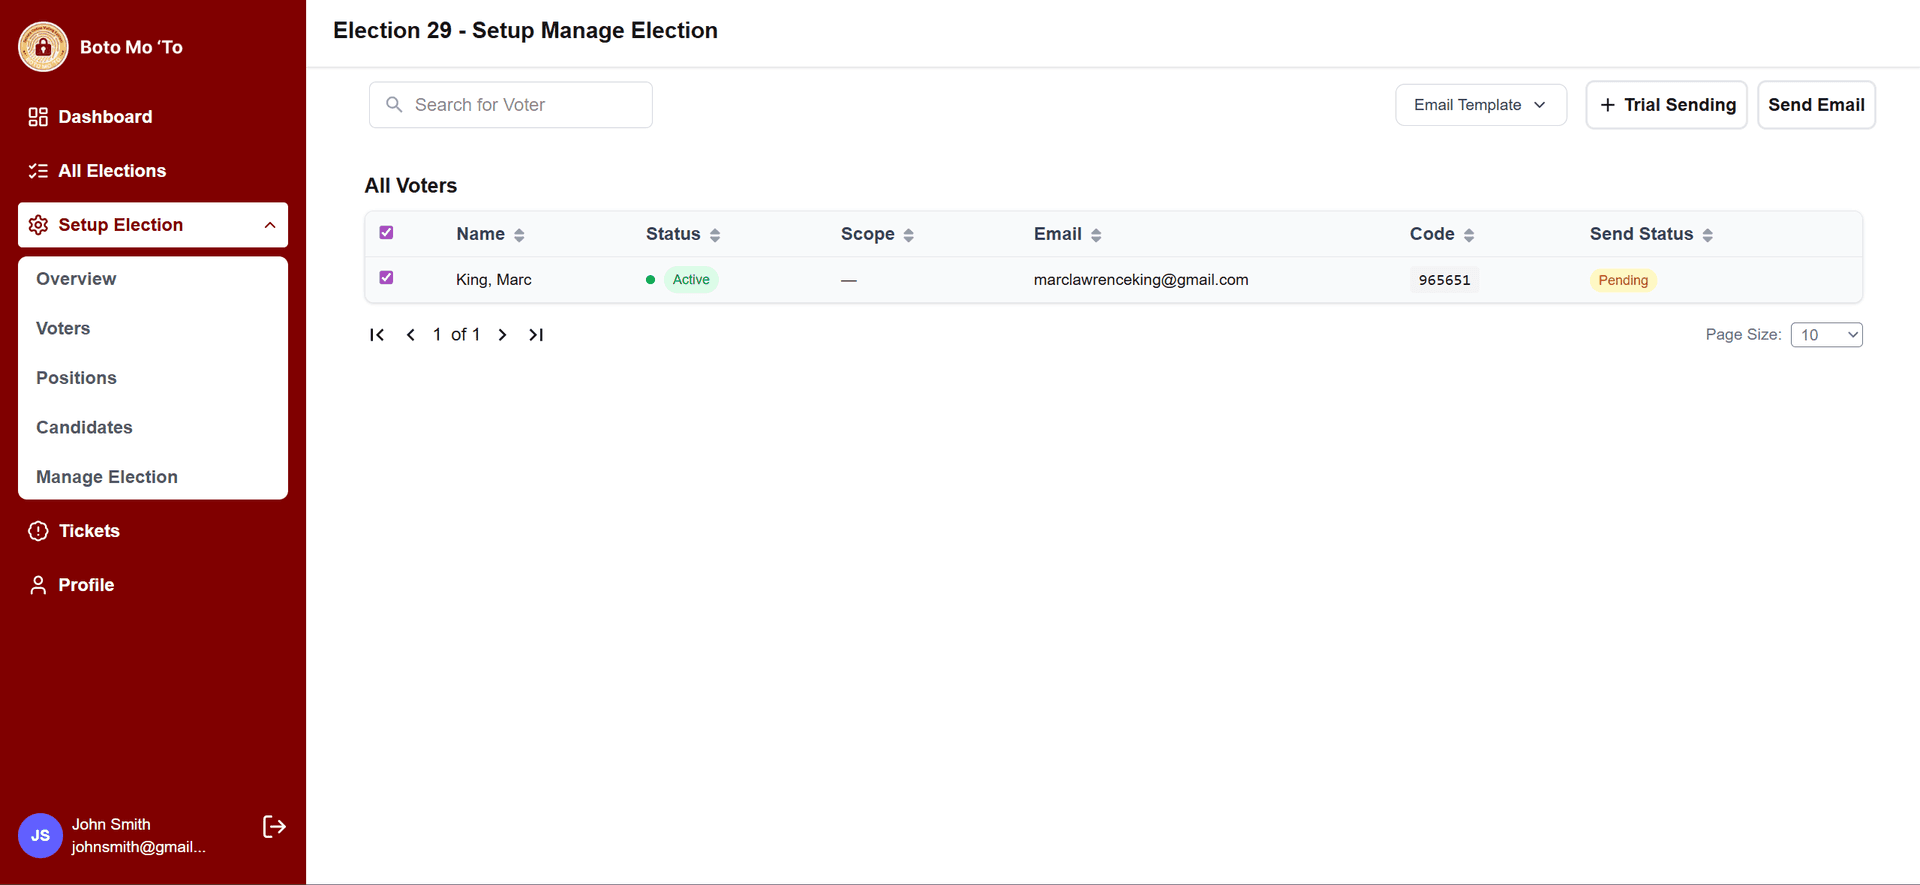
•Voters
•Add, edit, or delete voters.
•Batch upload multiple voters via CSV.
•Required voter information: Surname, First Name, Middle Initial, Email, Voting Scope.
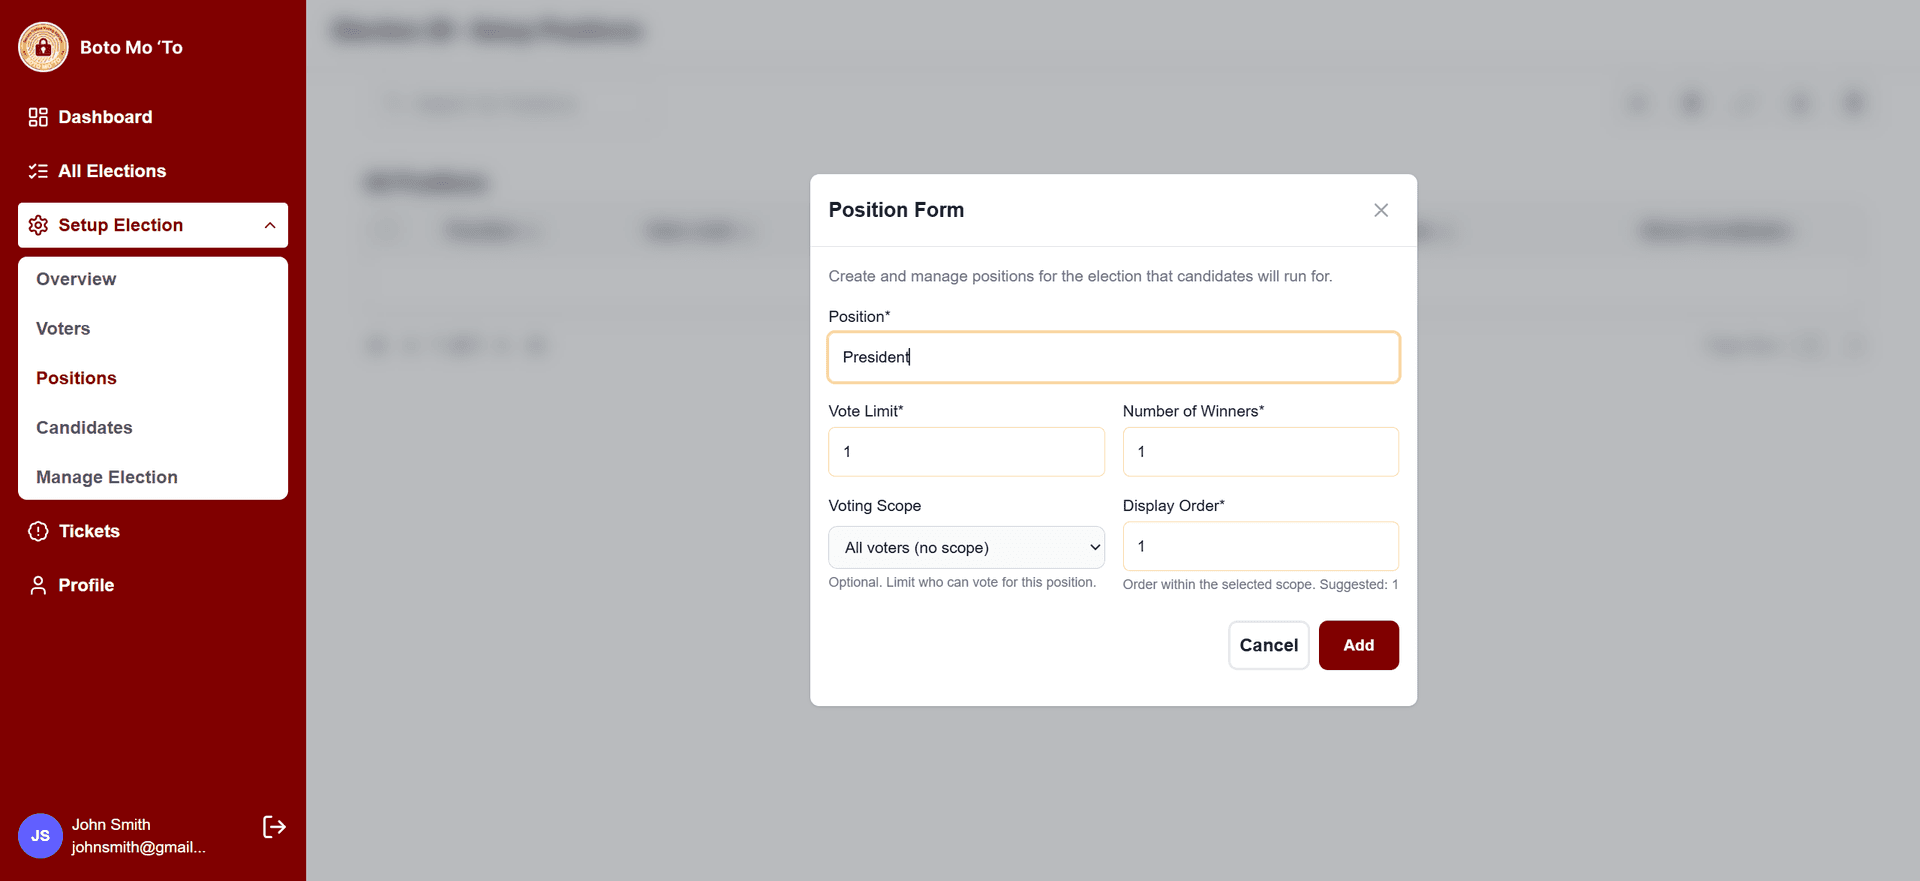
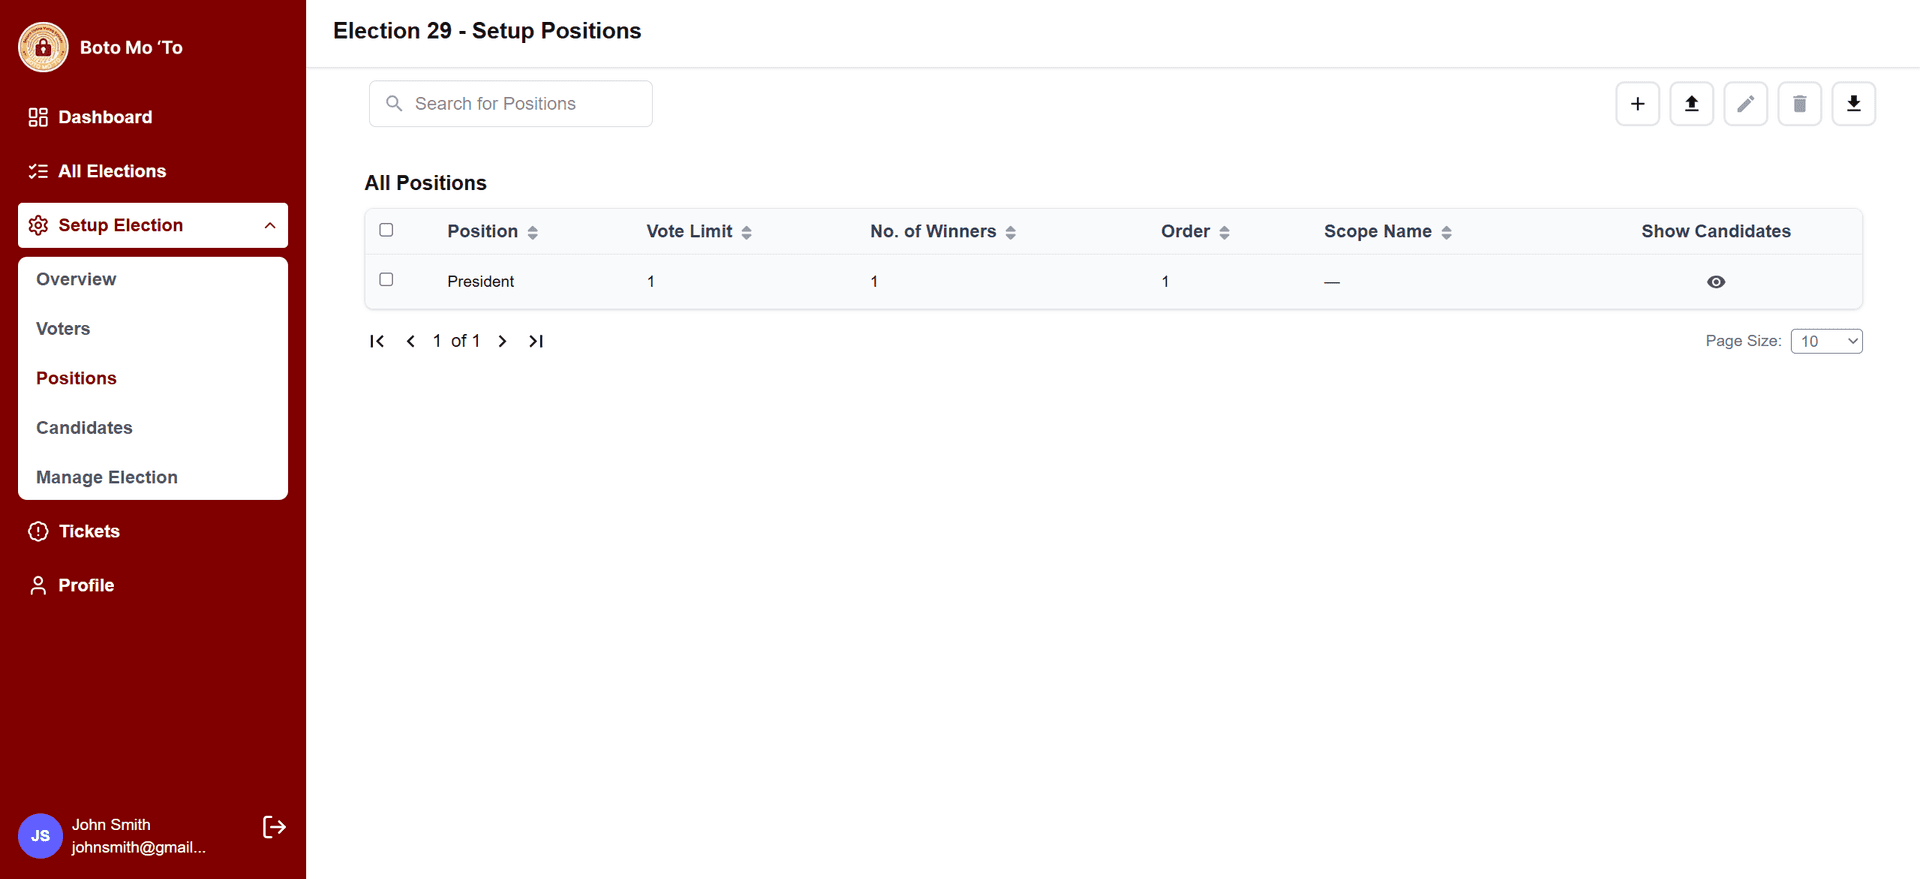
•Positions
•Define available positions.
•Required fields: Position Name, Vote Limit, Number of Winners, Voting Scope, Display Order.
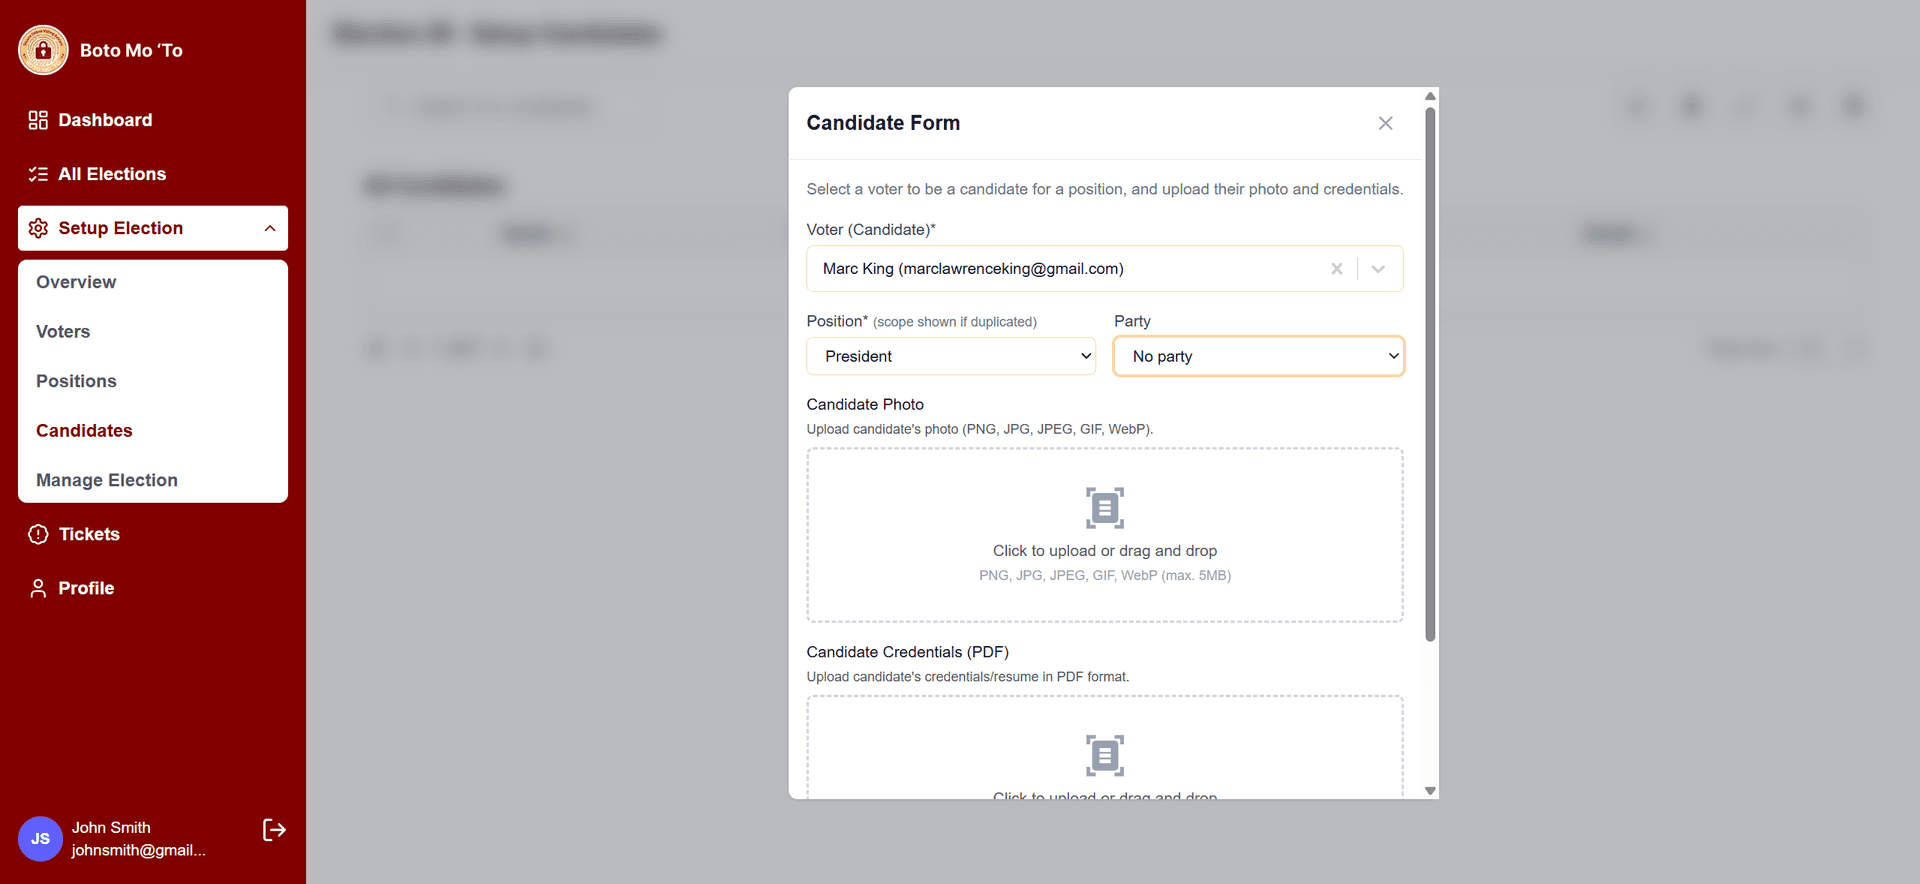
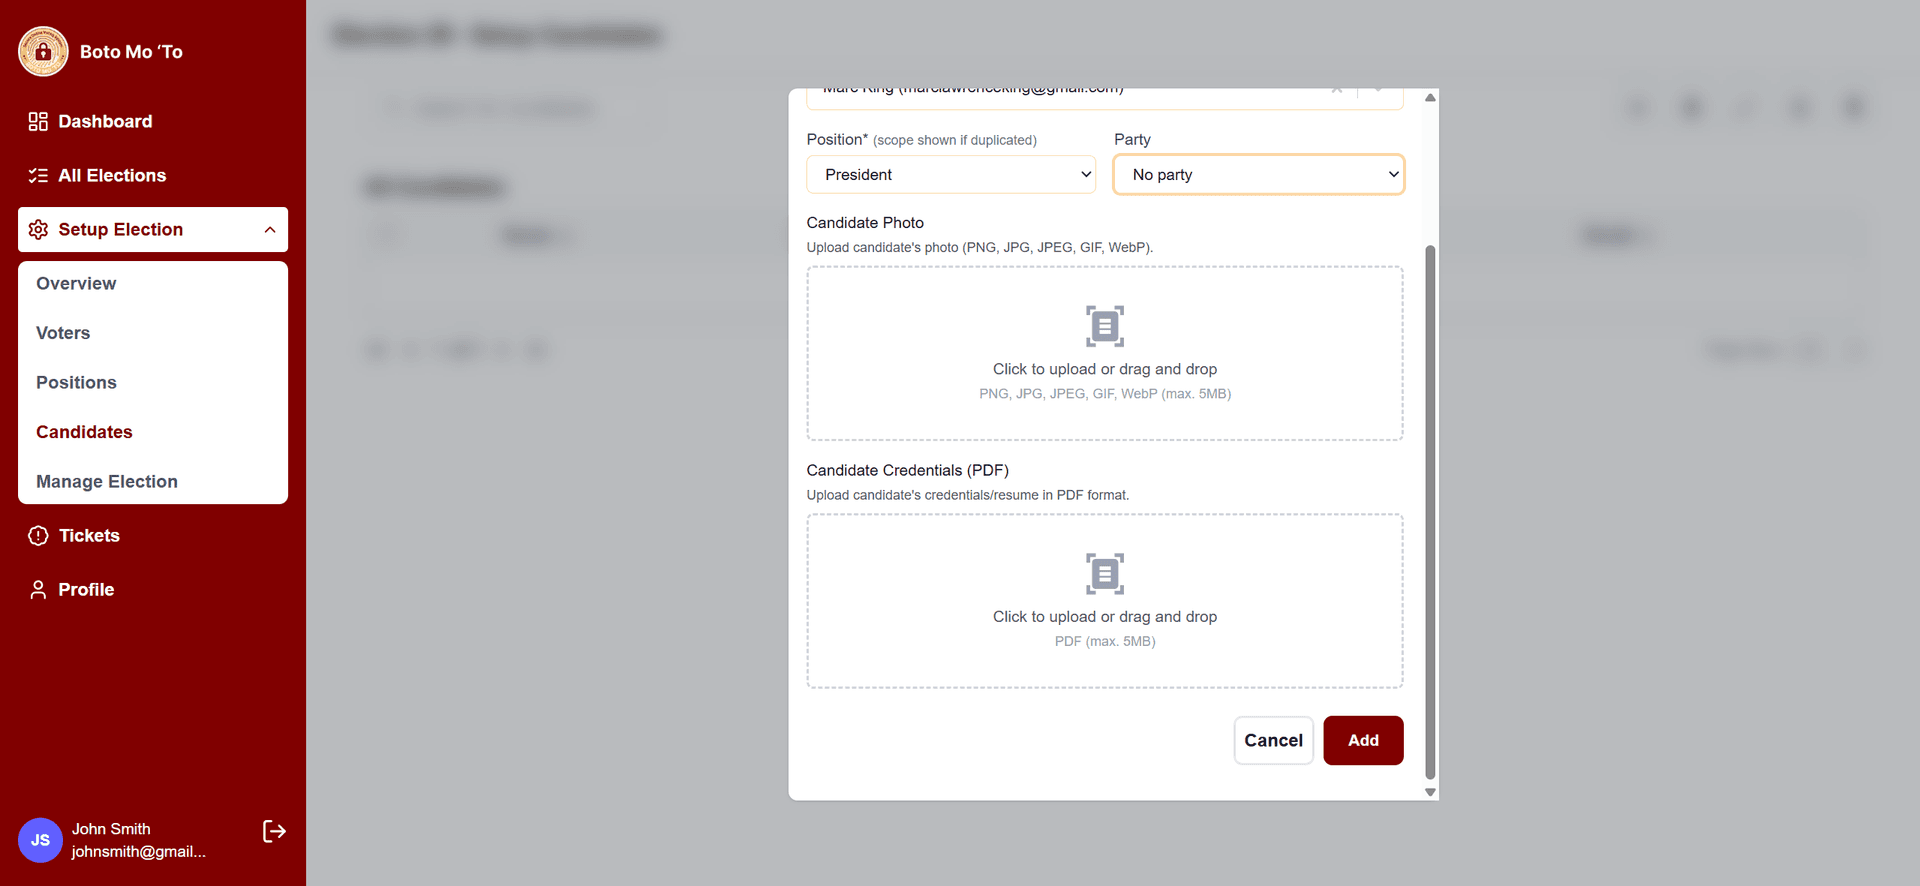
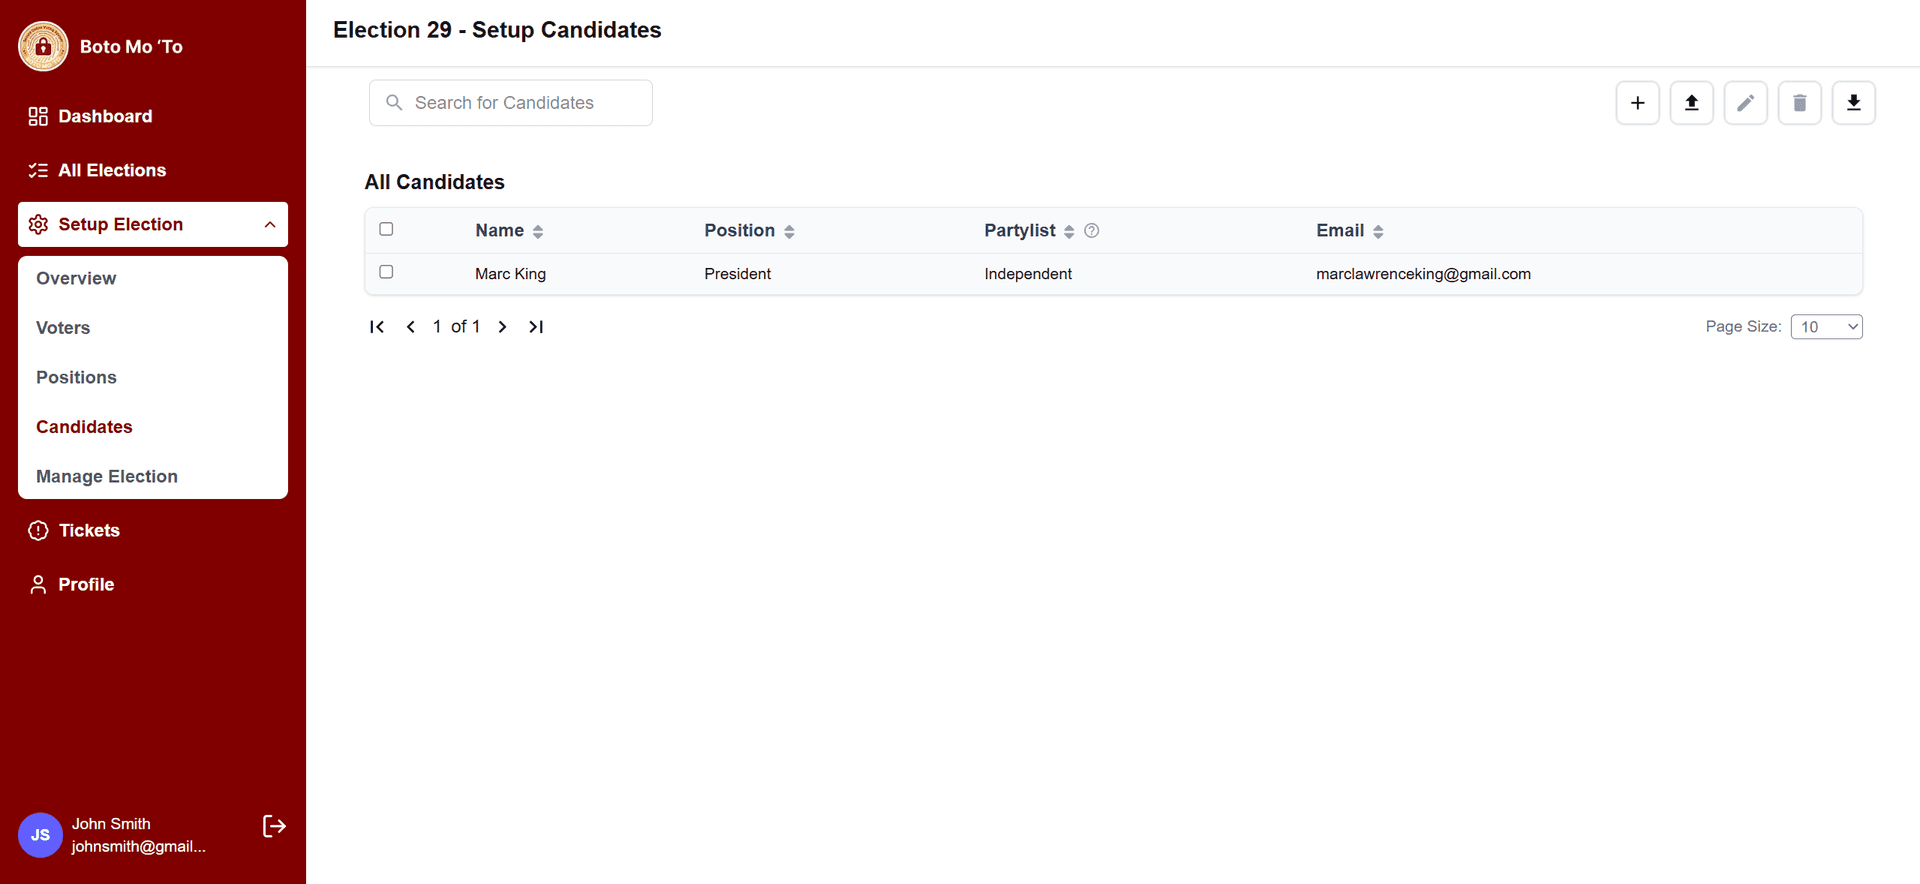
•Candidates
•Assign candidates (must already be registered voters).
•Required fields: Candidate Name (linked to voter), Position, Party.
•Optional: Candidate Photo, Credentials (PDF).
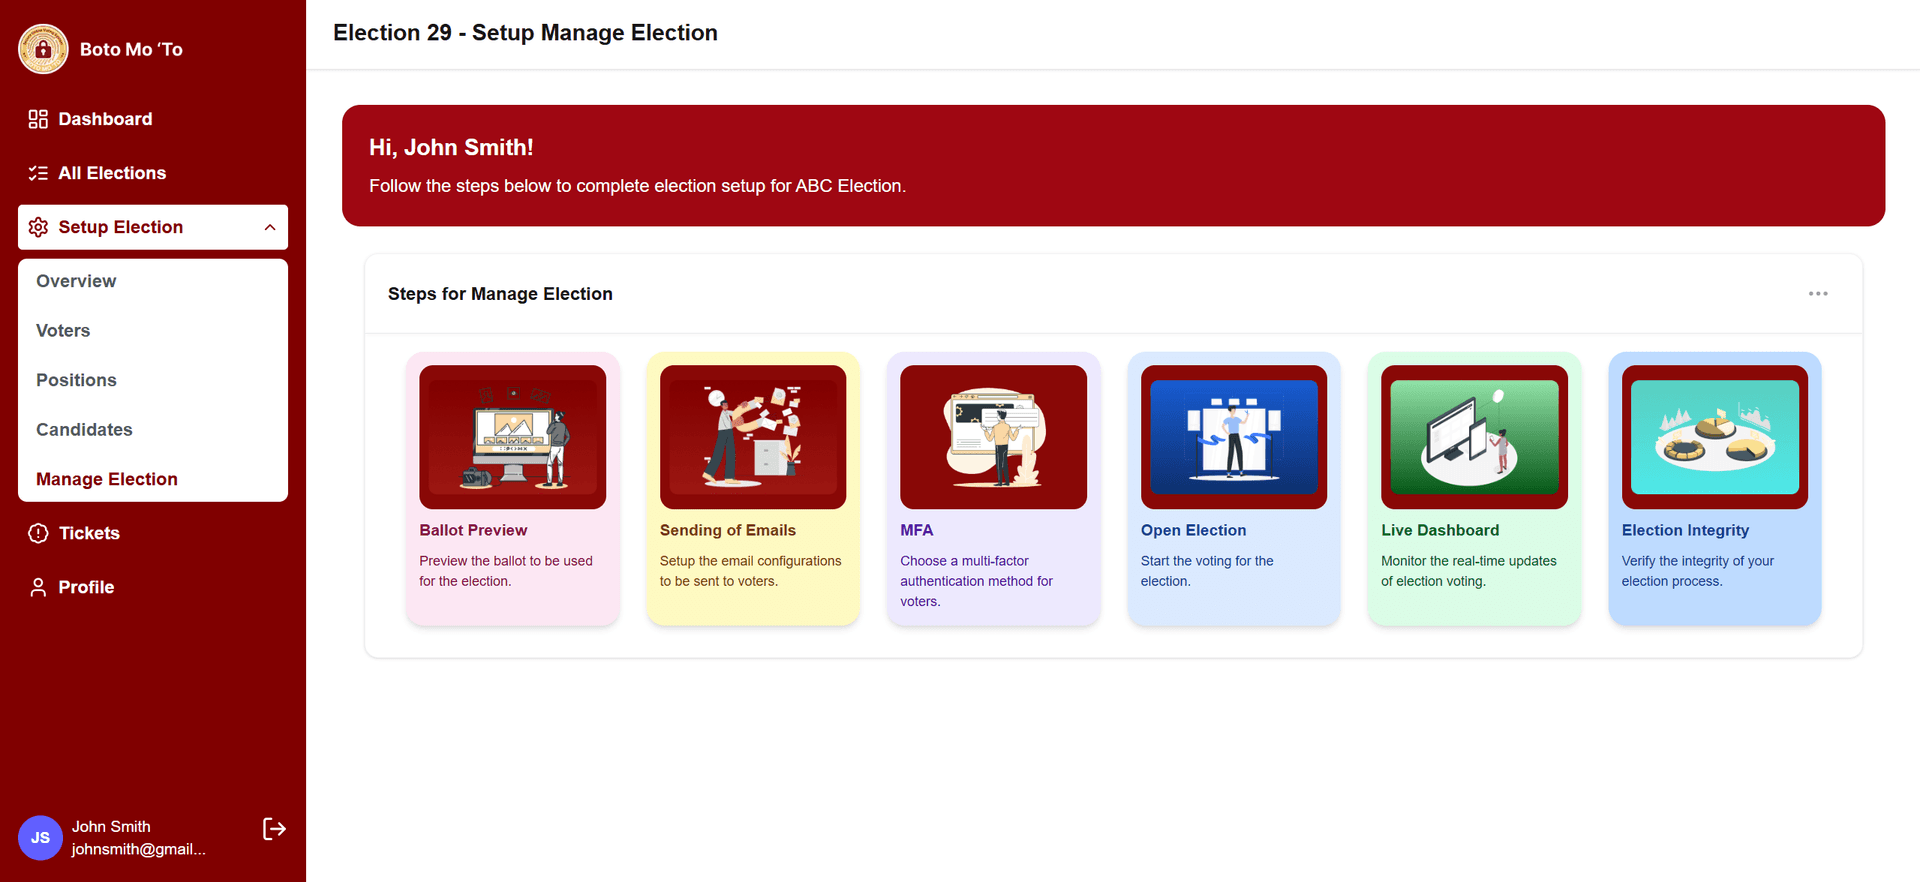
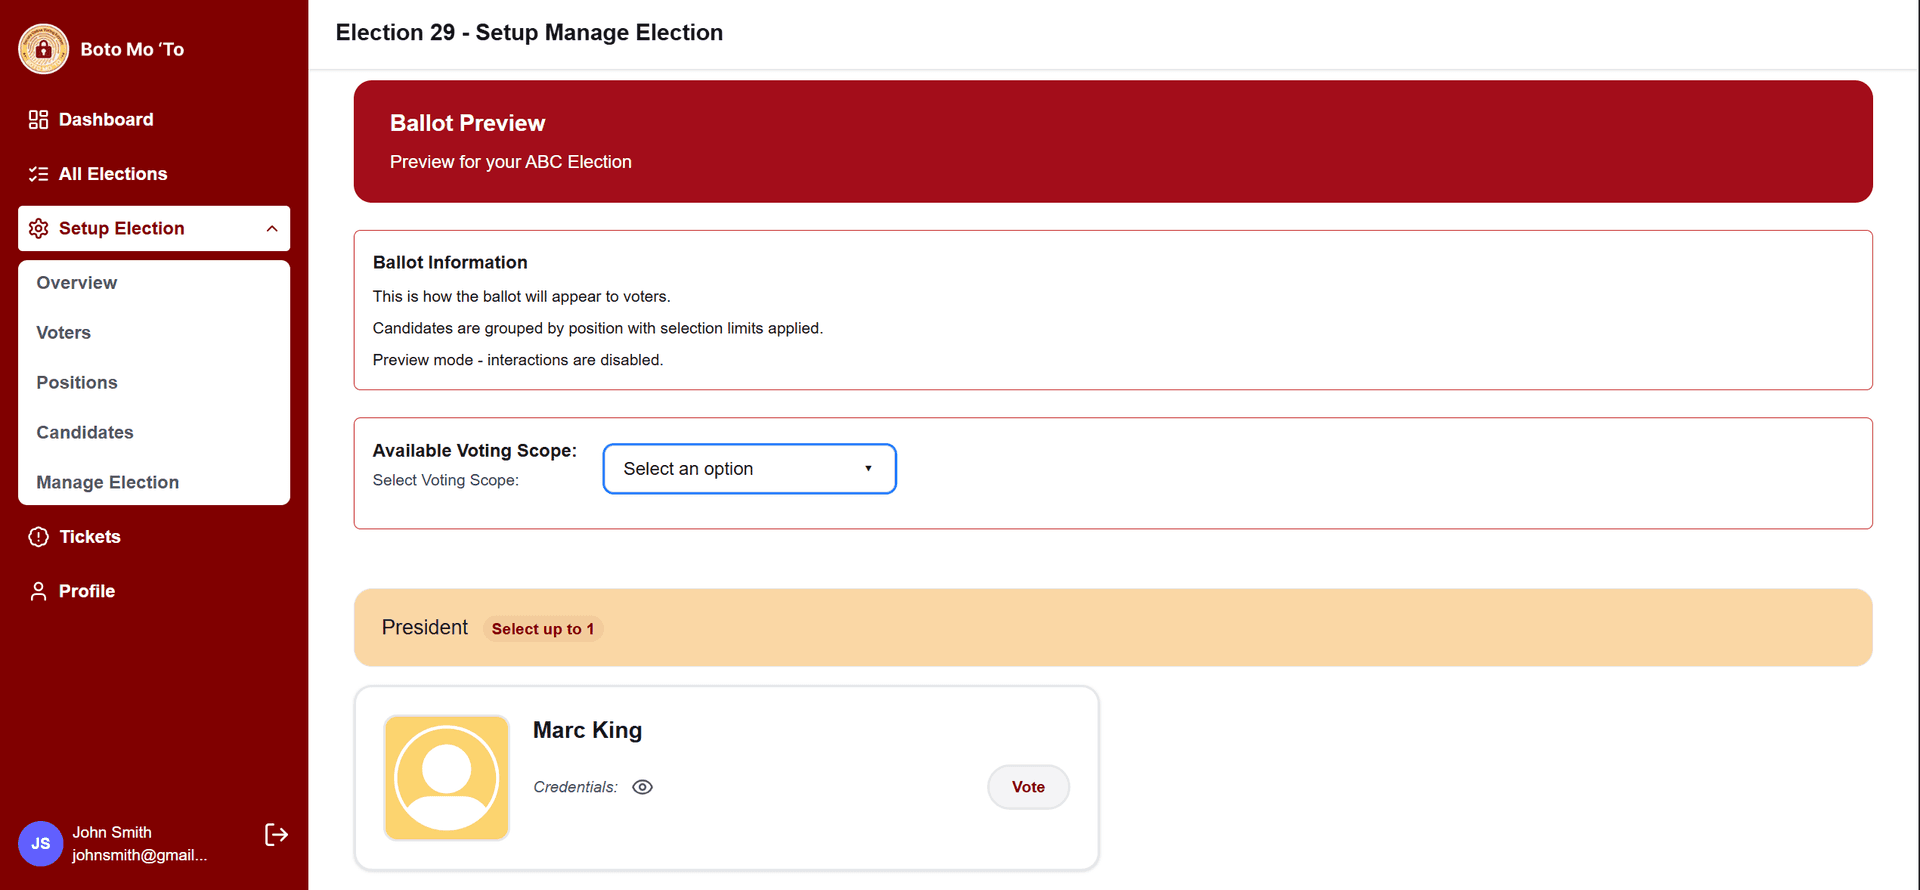
•Manage Election
•Ballot Preview – Check what the ballot will look like.
•Send Emails – Automatically email voter codes to registered voters.
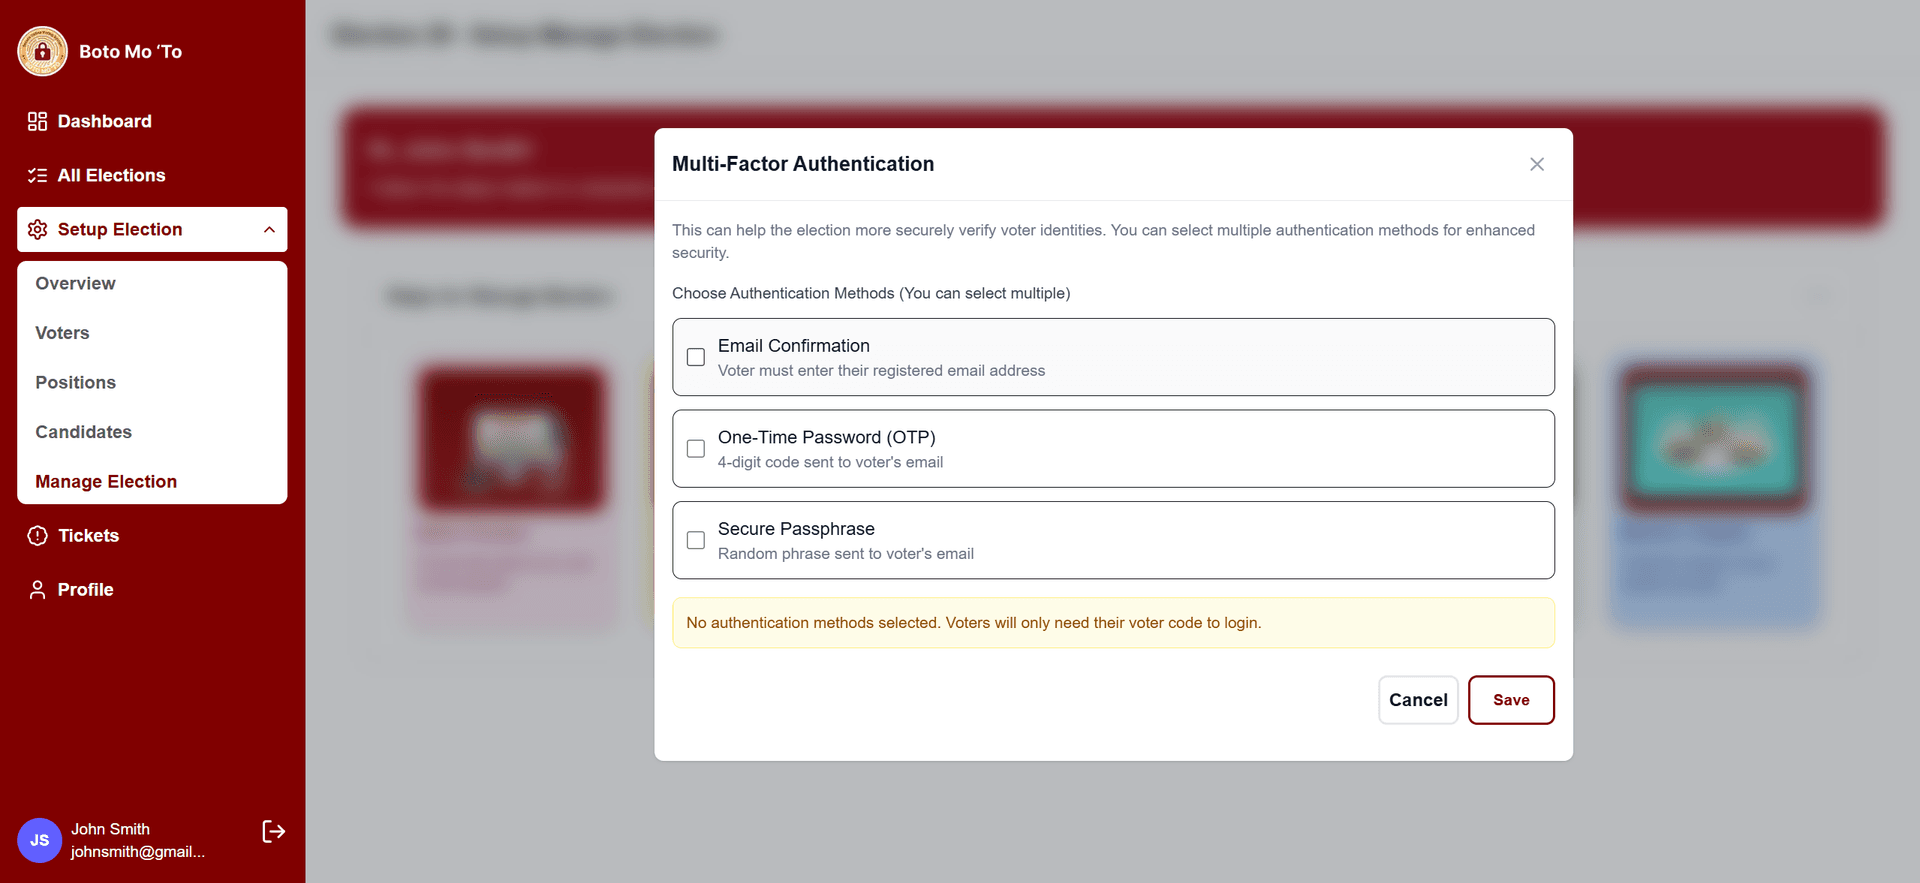
•MFA Setup – Enable/disable multi-factor authentication.
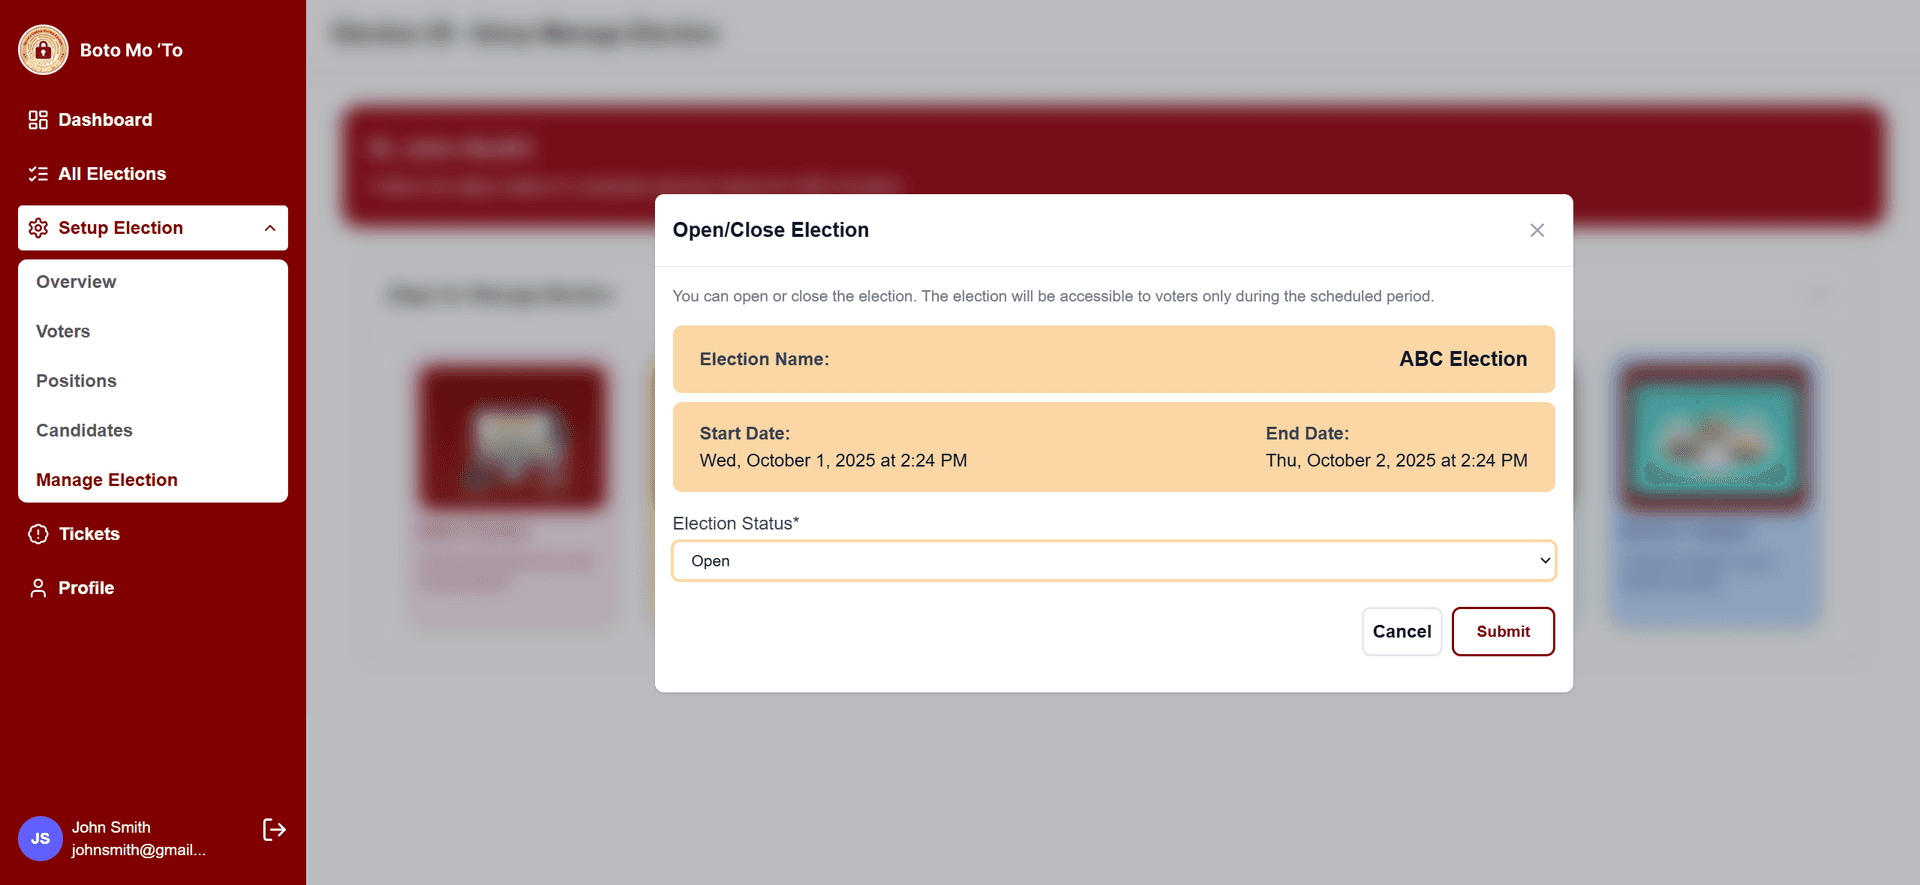
•Open Election – Activate the election and allow voting.
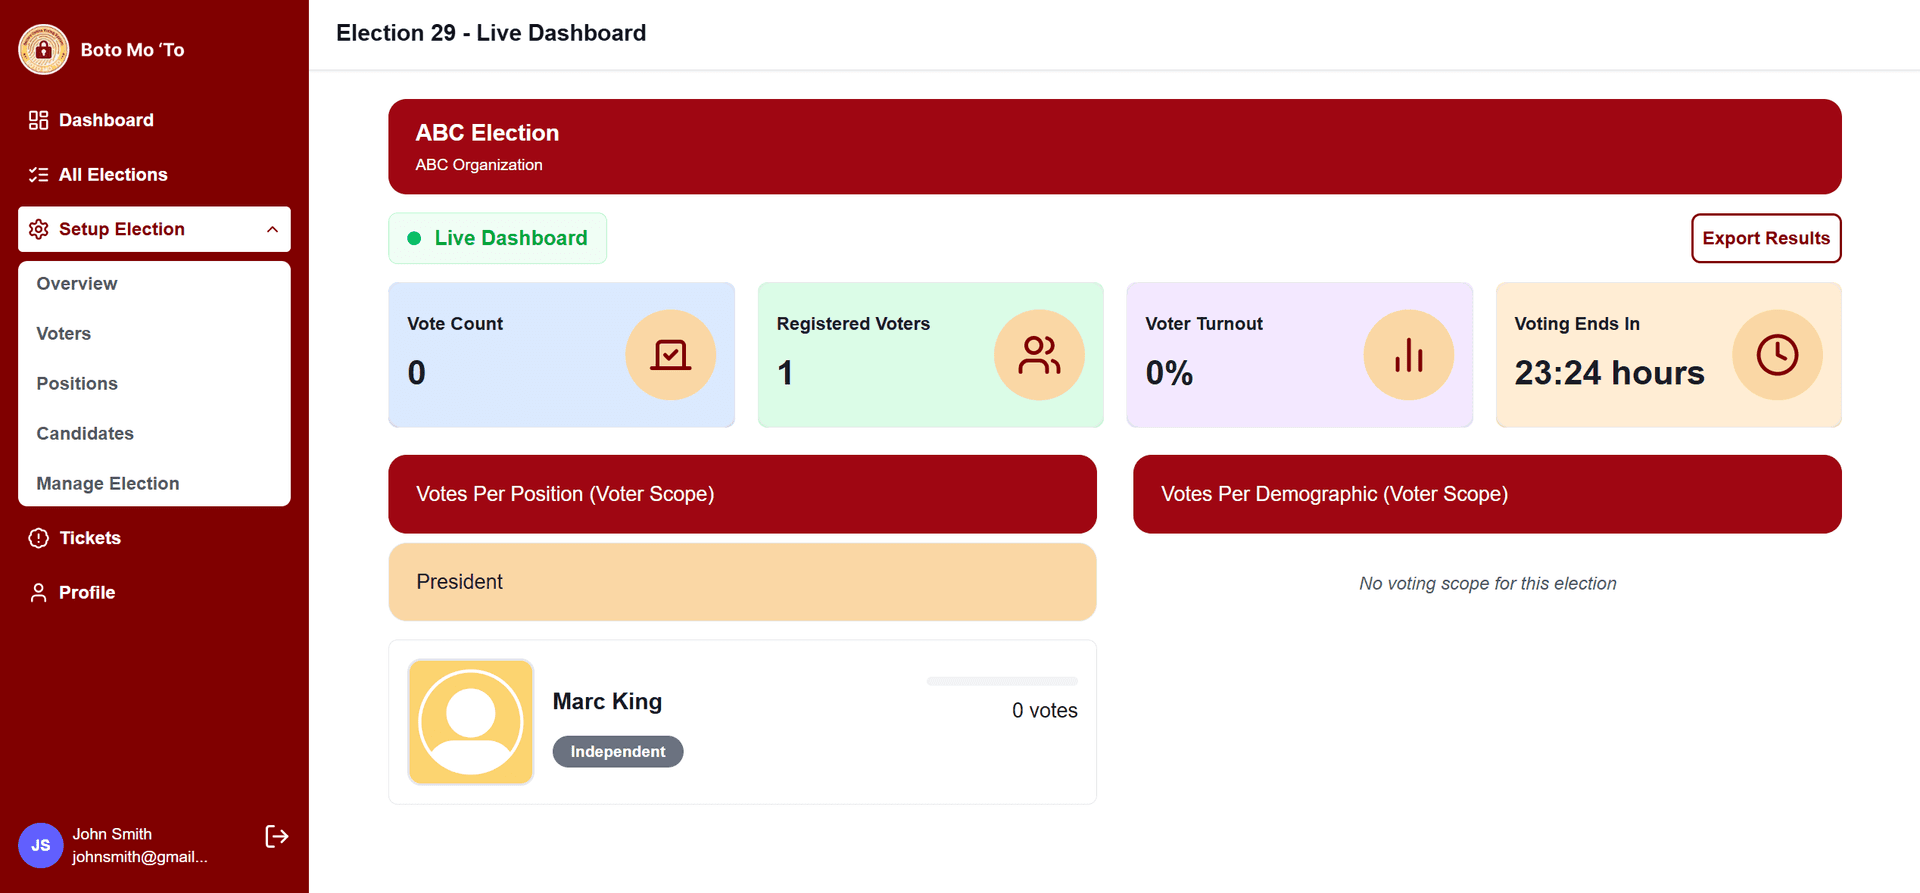
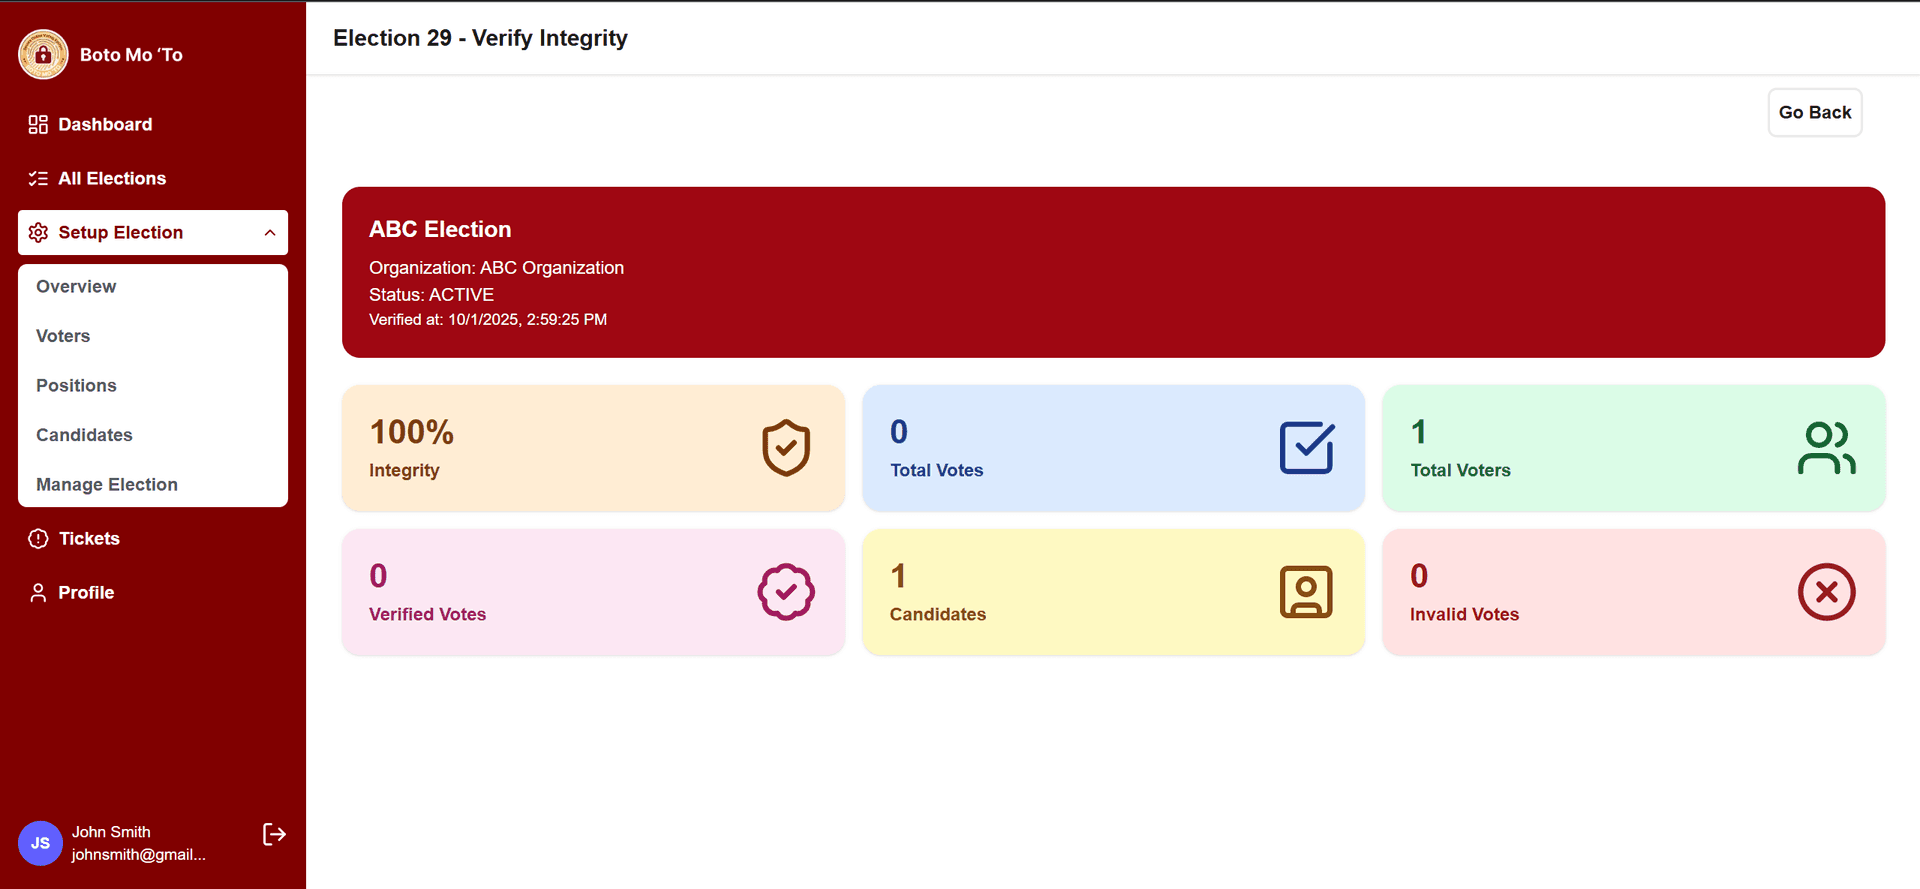
•Live Dashboard – View real-time summaries of voter turnout and results.
•Election Integrity – Monitor vote security using chain hashing to detect tampering.
9. Tickets Section
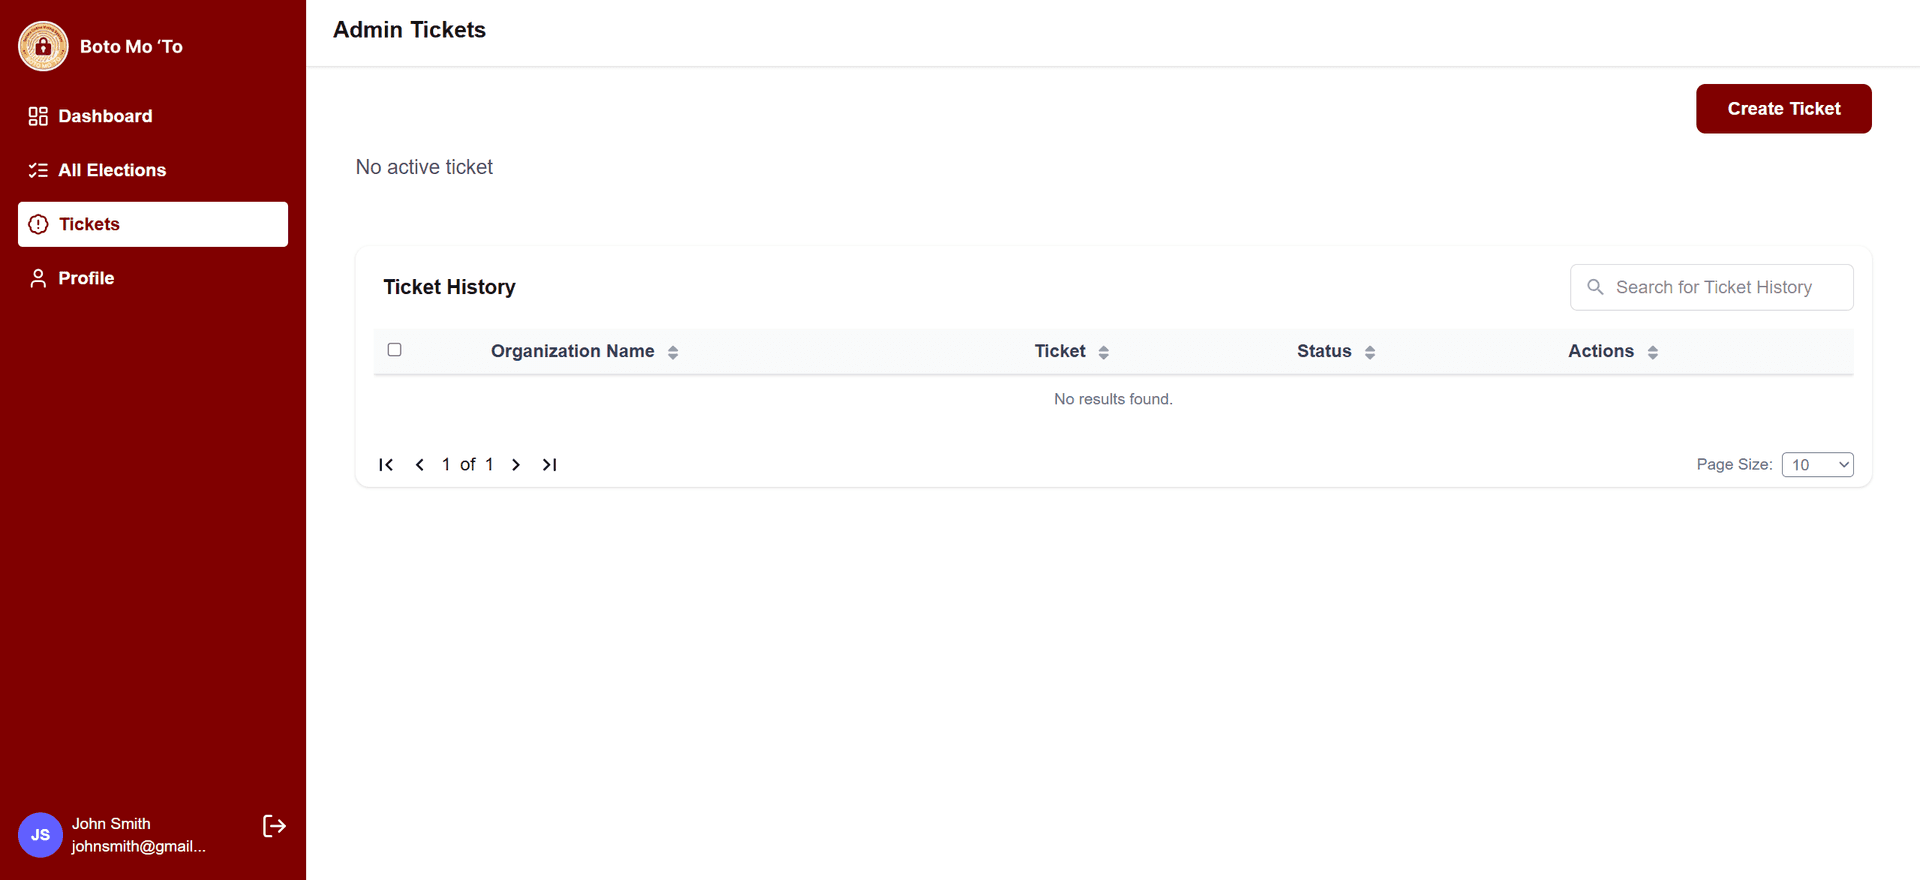
•Submit a ticket to report issues or make suggestions.
•Tickets go directly to the Superadmin for review.
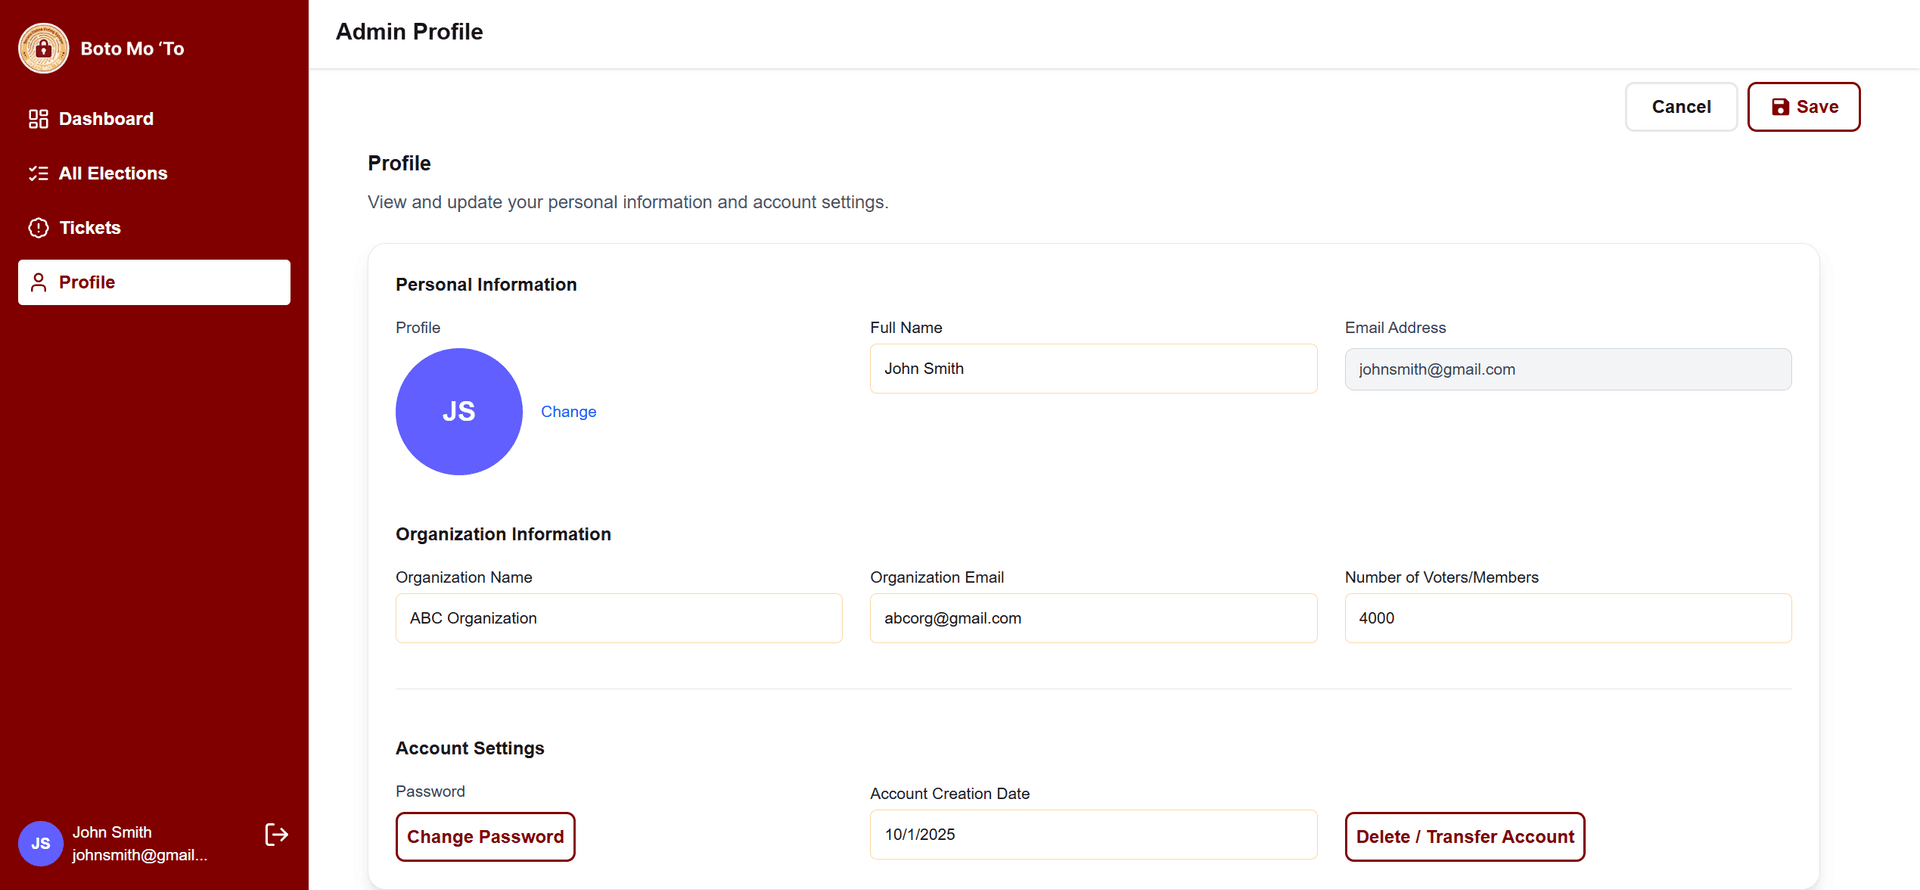
10. Profile Section
•Manage your admin account settings.
•Options include:
•Update profile details
•Reset password
•Disable account
•Transfer ownership of account to another admin
